By Selena KomezUpdated on January 25, 2018
“I am going to sell my old Android phone which has been used for 3 years,and I am decide to buy a new device to replace. How to erase all the phone number in the call history without restoring? I heard that restore device to factory reset will not wipe the data cleanly. Any other ways available?”
Normally, to delete call logs on Android device, just simply select “Delete” option, click on “Delete” button on the top-left corner of the screen. It seems simple. But you may not have thought of the case that simple deletion can’t really delete those Android call logs. Even after restoring device to factory reset, the deleted call logs till can be restored by some professional data recovery tool. In this article, we will show you 2 solutions to permanently delete call history on Android phone with no any chance to restore it no matter use any ways.
Android Data Eraser is qualified to erase data from Android without restoring, including call history, contacts, messages, photos, videos, documents and more. With the help of Android Data Eraser, you can delete call history on Android permanently. Android Data Eraser works well on most of Android device, such as, Samsung, HTC, Lenovo, LG, Huawei, Google Pixel, ZTE, OnePlus, and so on. Let’s see how the Android Data Eraser work to erase call logs on Android permanently.
Free Download Android Data Eraser:


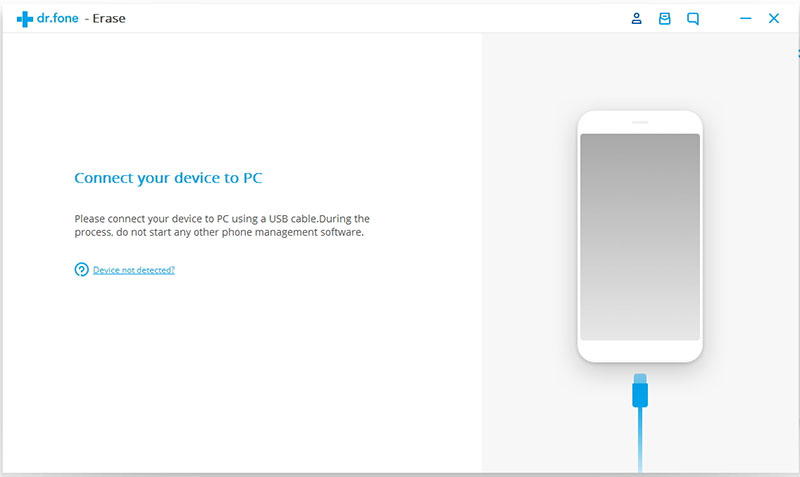
Step 1. Run Program and Connect Android
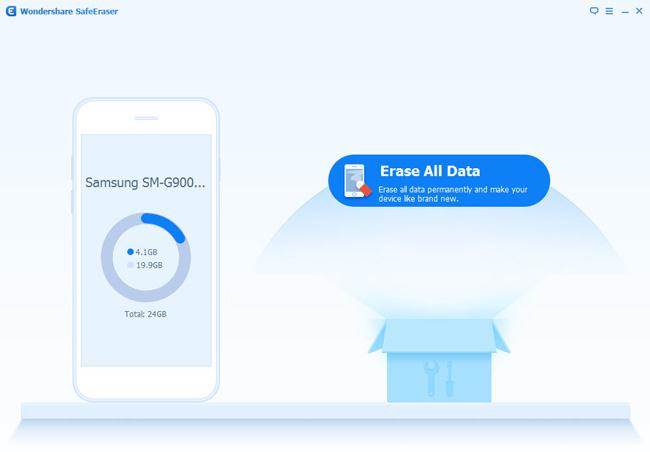
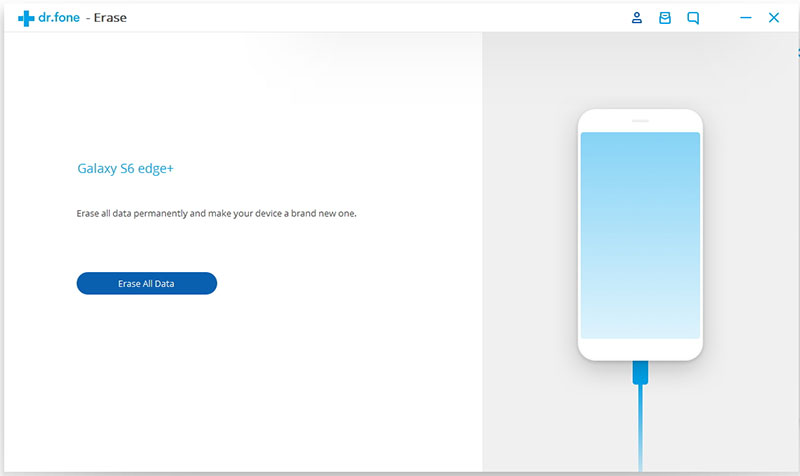
First of all, you should run Android Data Eraser on the computer, then connect Android phone to the computer. When your device is detected, you will see the interface below. Select “Erase All Data” and move on.
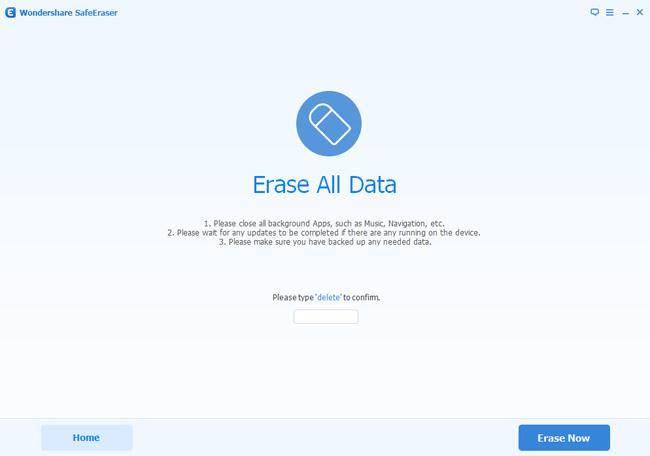
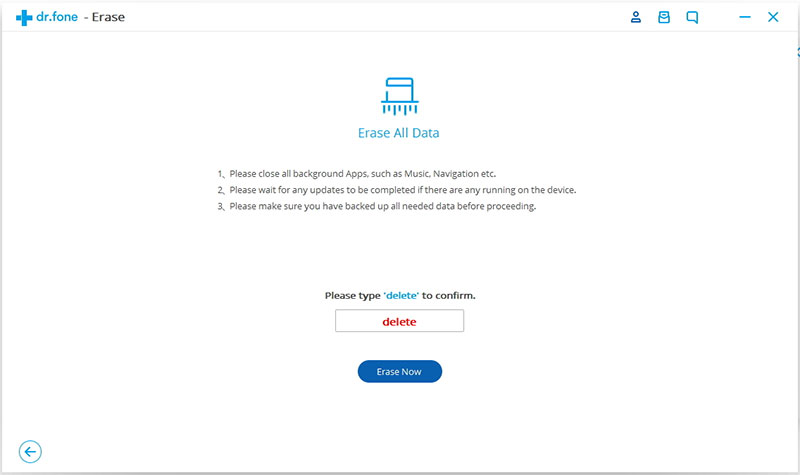
Step 2. Confirm to Erase Android Data Permanently
You should type “delete” on the next interface to allow the program to erase all data on your Android device.Click on “Erase Now“to confirm the data erasing task.
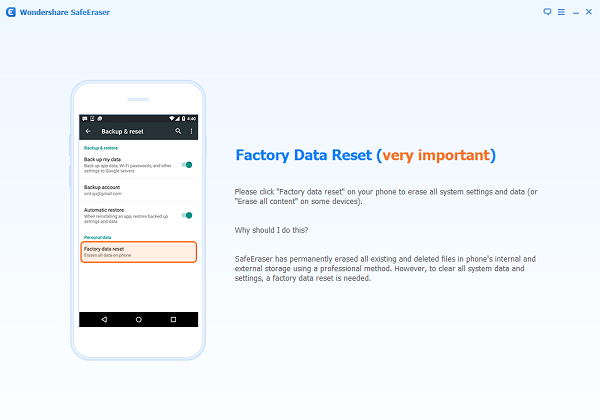
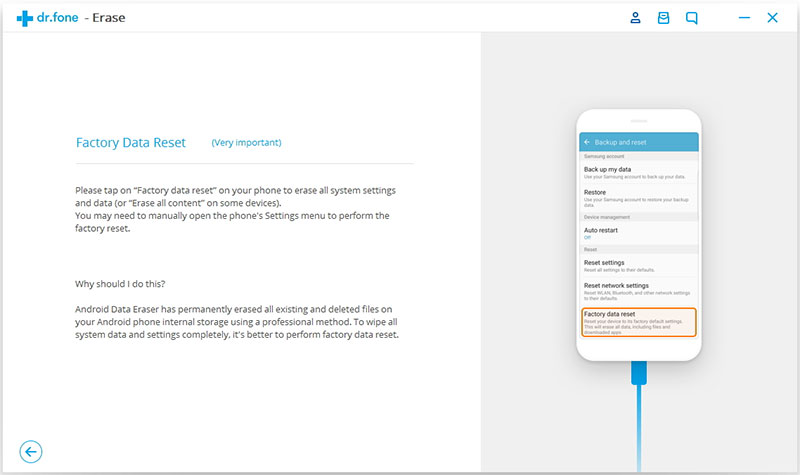
Step 3. Perform the Factory Reset on Android
Once the process is completed,follow the tips to factory reset your Android device so as to clear all system data and settings completely.
Done. It only takes 3 steps to clean all data on your device.
Another tool we suggest you to use called Android ToolKit– Android Eraser, it is famous for manage Android safely, it provide several functions to you, help to manage your device in a complete solution. One of the functions named “Erase”, it can help to permanently erase call history from Android. The process is safe and quick. Only one click, you can easily erase all data and setting from Android device without restoring. All models of Android are compatible with Android ToolKit, Samsung, HTC, Lenovo, LG, Huawei, Google Pixel, ZTE, OnePlus, etc,. What’s more, this powerful all-in-one program allow to recover deleted data from Android, unlock Android without password, backup & restore Android.
Free Download Android ToolKit:
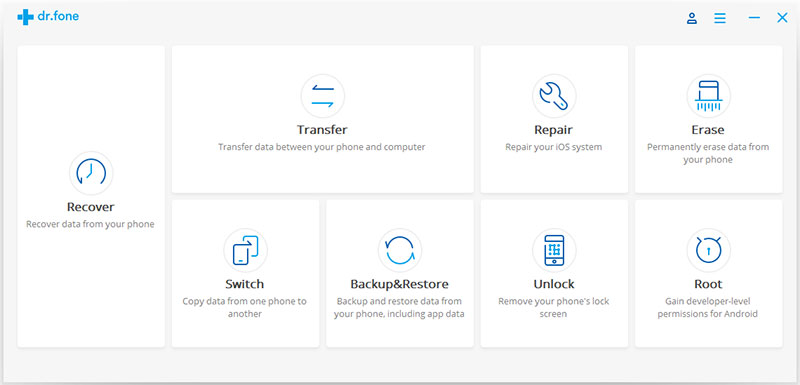
Step 1. Run Program and Connect Android
Launch Android ToolKit – Android Eraser on the computer. Select “Erase” among all the tools.
Connect your Android phone to computer using a USB cable. Make sure you have enabled USB debugging on your phone. If the Android OS version is above 4.2.2, there will be a pop-up message on your phone asking you to allow USB debugging. Tap on “OK” to continue.
Step 2. Erase Android Permanently
Then the program will automatically recognize and connect your Android device. Click on the “Erase All Data” button to start erasing all your data.
Since all the erased data are not recoverable, make sure you have backed up all needed data before you proceeding. Then key in “delete” in to box to confirm the data erasing operation.
Then the program will start erasing all data and settings on your Android phone. The whole process takes you only a few minutes. Please keep connection between the phone and the computer, don’t run any other phone management software on the computer.

Step 3. Perform Factory Reset on Android
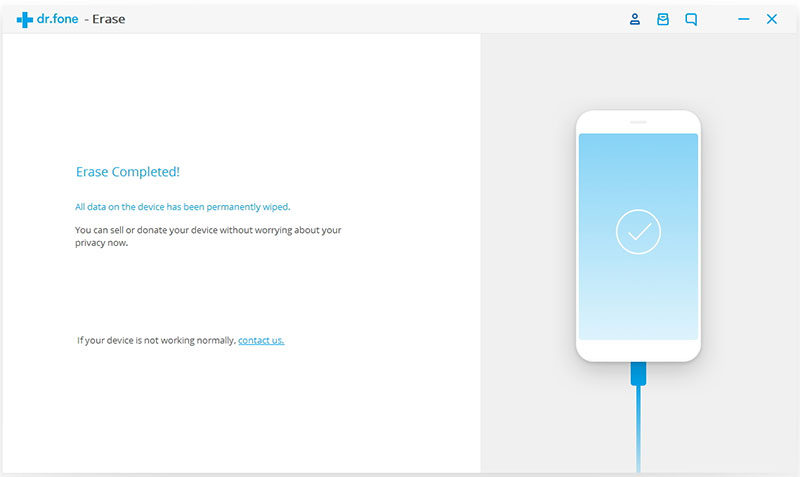
After all call history, app data, photos, and all other personal data have been completely erased, Android Toolkit will ask you to tap on “Factory Data Reset” or “Erase All Data” on the phone. This will help you completely wipe all the settings on the phone.
Now your Android phone has been completely wiped and it’s like a brand new one.
More Android Tutorials you can Check:
How to Permanently Erase Android Data
How to Erase Android Data before Selling
How to Permanently Delete Photos from Android Phone
The Best Way to Erase Text Messages on Android Phone
How to Get More Internal Storage from Android Phone
Prompt: you need to log in before you can comment.
No account yet. Please click here to register.
 (No Ratings Yet)


No comment yet. Say something...