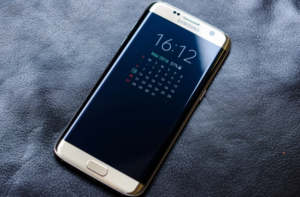
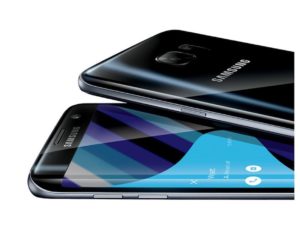
Samsung announced the Galaxy S7 and S7 edge in March 2016 and the two devices received huge amounts of praise for their design, powerful specs and great cameras. No smartphone is perfect though. There will always be a few specs in the rumours that never see the light of day, leaving some disappointed and wanting more.Don’t worry though, more is on its way. Here is what we hope to see, what we think might appear and what some rumours suggest might appear on Samsung’s 2017 flagship phones.
Previous release patterns would suggest the Samsung Galaxy S8 would launch at Mobile World Congress 2017, suggested by Ricciolo on Twitter and Phone Arena. As months have past however, an MWC announcement is looking less and less likely. LG has now taken Samsung’s traditional date and time slot but Samsung’s mobile president has also said it would be working hard to regain consumer trust after the Note 7 issues, suggesting lots of testing for the S8.
Samsung is therefore now thought to be avoiding MWC 2017 and hitting the Big Apple instead, with the SGS8 launch in New York City in April. Slashleaks has claimed the rumoured date is 18 April, but ET News has said it will be 15 April and there has also been more recent talk of 29 March, which has been reiterated by VentureBeat. It is however thought Samsung will use MWC to reveal the Tab S3 tablet instead, with perhaps a sneak preview of the S8 rather than a complete unveiling of the phone.
In terms of availability, Ricciolo claimed the device will go on sale on week 17, which is 24 to 28 April, for £849. VentureBeat has said the smaller S8 would cost €799 in Europe and the larger device would cost €899 however. The site also said the devices would go on sale on 21 April.
Supporting this, SamMobile noted a report from ET News that said Samsung has confirmed it will produce 10 million units of the S8 in time for an April launch.
Samsung Galaxy S8 and S8 Plus: Two phones?
One recent rumour claimed that instead of releasing two devices, one with a flat bezel, the other curved, Samsung will break from tradition and stick with just the latter this time around. After all, it only offered the curved display on the Galaxy Note 7 and a leak from Phone Arena only talks about a dual edge curved display device, with no mention of a flat alternative, while a leak of front panels also suggests two curved handsets.
SamMobile reported that its insiders have claimed there will be two models, which are being referred to internally as Dream and Dream2 and the Guardian has also claimed sources have confirmed this, along with VentureBeat. The newspaper and VentureBeat have both said the two models would be curved and while the Guardian said one will have a 5-inch or so display and the other will have a 6-inch or so display, VentureBeat has said they will be 5.8-inches and 6.2-inches.
South Korean news outlet The Bell also supports the idea of two models, though it says one will have a 6.2-inch display and the other with a 5.7-inch display. It too says both will be curved and will be called the Galaxy S8 and S8 Plus.
Samsung Galaxy S8 and S8 Plus: Display
The Samsung Galaxy S8 and S8 Plus have been rumoured to increase their display size compared to their predecessors. Some reports suggests 5.7-inch and 6.2-inch screens, some say 5.8-inches and 6.2-inches, while others suggest 5-inch or so and 6-inch or so displays, suggesting no one knows exactly as yet but it looks like the S8 devices will both be bigger than the Note series.
We’re expecting the screen to body ratios to improve too, especially after a Samsung Display spokesperson was quoted saying the company would roll out a full screen display with a ratio of more than 90 per cent this year. According to the Guardian, both devices will offer an infinity edge-to-edge display and as The Bell and the Guardian both suggest the S8 and S8 Plus will have similar dimensions to the S7 and S7 edge despite their larger screen sizes, it’s thought this full screen display could appear on the new models.
A Bloomberg report also supports this idea, with its claim of an all-screen front, as we briefly mentioned earlier. The report claims the display will be wraparound and there will be a virtual home button buried into the lower section of the glass, which is something the VentureBeat report also suggests.
Resolution might also increase, though the recent VentureBeat report suggests not. With VR becoming more and more popular, higher resolution displays are more important. The Sony Xperia Z5 Premium might be expensive, but if you’re into smartphone-controlled VR, its 4K display offers a great experience. As Samsung is already in the VR business, it would make sense to offer a compatible device with a higher resolution display for the Gear VR or any further VR devices.
Chinese blogging sources suggest the company has shown off a 5.5-inch 4K AMOLED display offering a pixel density of 806ppi and the Phone Arena leak suggests the S8 will come in this size and resolution with the dual edge design, supporting The Bell’s suggestion of a larger display for the traditionally smaller handset.
Another leaked set of specifications has claimed the Galaxy S8 would offer a 5.2-inch display with a 4096 x 2160 pixel resolution. This would not only make it slightly bigger than the current Galaxy S7, but it would also put its pixel density at 891ppi. Contradicting all these reports however is SamMobile, who claims the S8 will retain a 2K display but it will be better than the S7, and offer a noticeable improvement for virtual reality and VentureBeat also claims the Quad HD Super AMOLED displays will remain.
Samsung Galaxy S8 and S8 edge: Camera
There has been a rumour to suggest the company is working on a new 1/2.3-inch sensor that will be combined with a f/1.4 aperture. This would deliver even better low-light capabilities than the current flagships but whether it will appear on the S8 or S8 edge is unclear yet. The rumours also claim Samsung’s goal is to deliver a 1/1.7-inch sensor eventually, suggesting it has no intention of stopping improvements in the camera department.
Other claims have also suggested the Galaxy S8 might appear with a dual rear camera, with two different sensors – one at 12-megapixels, one at 13-megapixels. This is something we have already seen on the LG G5, Huawei P9, and more recently, Apple’s iPhone 7 Plus. The same tipster also claimed the front camera will be 8-megapixels, which ET News has also suggested.
Contradicting these rumours however, is another leak from a different source claiming the Galaxy S8 will have a 30-megapixel rear camera with optical image stabilisation, coupled with a 9-megapixel front-facing snapper. There has also been a claim that the S8 will have the same Duo Pixel camera of the S7 and S7 edge, which is something that the VentureBeat report also suggests.
According to VentureBeat, the rear camera will be 12-megapixels with an f/1.7 aperture and a new visual search feature, while the front camera will have an 8-megapixel sensor, also with an f/1.7 aperture. The site also claimed the front camera will have iris scanning capabilities.
ET News has also reported that the front-facing snapper of the Galaxy S8 could have auto-focus rather than fixed. It wouldn’t be the first device to offer auto-focus on the front, with both the Sony Xperia M5 and the HTC Desire Eye both offering the feature, but it would be welcome.
Samsung Galaxy S8 and S8 Plus: Conclusion
What will appear on the Samsung Galaxy S8 and S8 edge or S8 Plus? Who knows at the moment. We have a couple of months of waiting ahead of us but it would be interesting to see a change up in design, more improvements in camera capabilities and software refinements.
There is a good chance of a more powerful processor and more RAM, as well as the potential for a larger battery capacity too, as is normally the case with next-gen flagships.
We will be keeping a close eye on the rumours of the Samsung Galaxy S8 and S8 edge as and when they appear so keep checking back for updates.
Related Article:
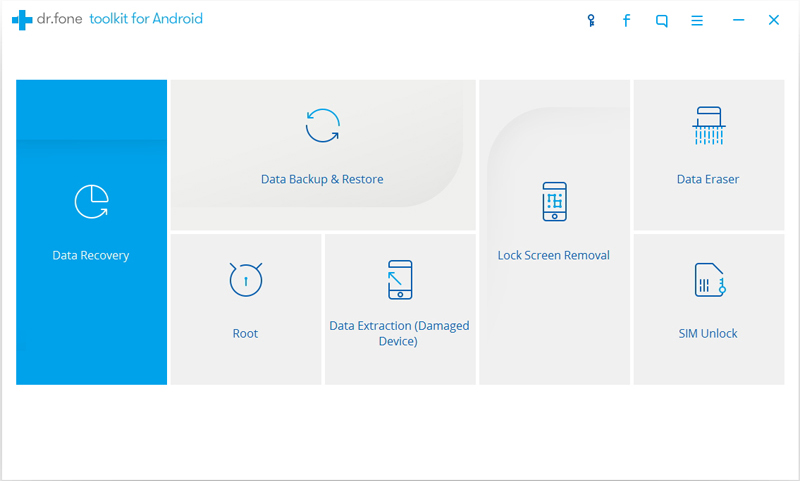
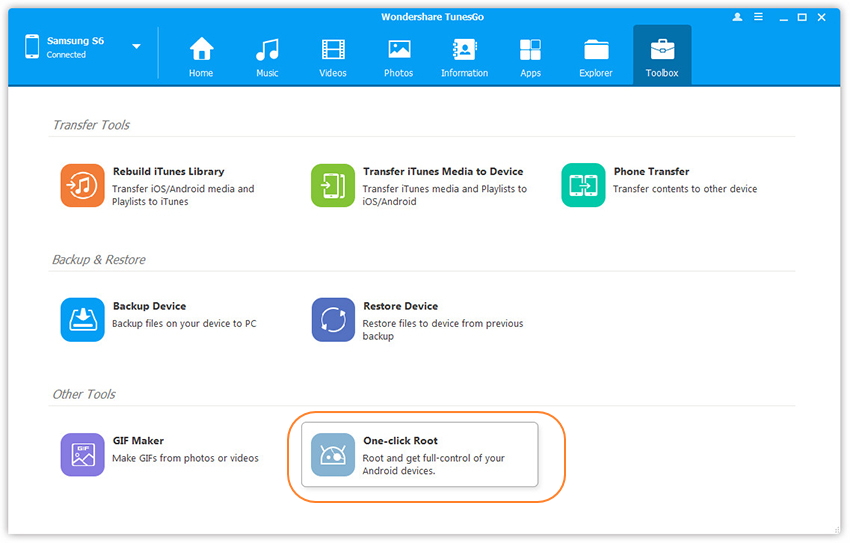
How to Backup & Restore Samsung Galaxy S8
How to Recover Lost Photos from Samsung Galaxy S8
How to Recover Data from Samsung Galaxy S8
How to Transfer iPhone Files to Samsung Galaxy S8
How to Transfer Android Files to Samsung Galaxy S8