Summary:
It is necessary to backup contacts, sms, photos, videos and other data from Android to computer,regularly,so you can keep and restore data back to Android device from computer whenever the original files is deleted or lost during the process of rooting phone, Android OS upgrading, factory reset Android, formatting SD card, etc.In this tutorial, I will guide you the most easiest and most reliable way to completely and efficiently backup and restore your Android phone or tablet on computer.Find out how to back up your valuable apps, contacts, messages, and more with just a few easy steps.

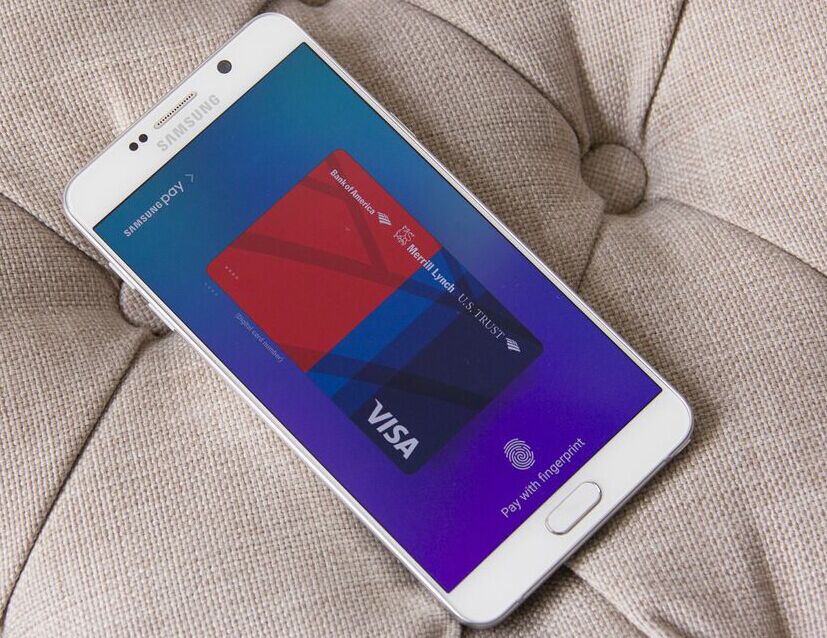
Galaxy Note 7 Recall:Back up your Galaxy Note 7 Data before exchanging it
“Samsung Galaxy Note7 Battery Safety Recall”.Now that Samsung has recall all Galaxy Note 7 smartphones sold for it’s battery explosion,before recalling your issued Note 7 and exchange your current Galaxy Note 7 for a Galaxy S7 or Galaxy S7 edge, you must to backup data from Galaxy Note 7 to computer before recalled, then permanently erase all data and settings,so you’re ready for the Galaxy Note 7 recall,in order to protect your private data never be stolen by others.When you getting the new phone,then restore previous data to new phone from backup.
Here is the benefit of being able to perform full backups:
Android doesn’t offer a native backup service, so it’s easy to ignore the need to do so. But don’t wait until it’s too late to start thinking about backing up your Android.For example,many of us rely on our phone cameras to snap day-to-day photos of our lives and save text messages to have some of the most important conversations.
Everything that is valuable on a smartphone or tablet,so before a thief swipes that phone,or a spilled cup of coffee bricks it,backup Android data is required.Here we’ll be going over the best way to backup Android smartphones or tablets to keep data safe.This will prevent the headache of dealing with a lost, stolen, or new device situation.
How to Backup and Restore Android Data on Computer
Android Data Recovery– recently release a newest feature “Android Data Backup & Restore” that allow to do the Android data backup & restore task,backup and restore Android data to computer has never been easier. The program makes it simple to backup Android data to computer and even selectively restore backed up data to Android device.Enables to backup and restore almost every Android data type,such as contacts, text messages, videos, music, photos, calendar, call logs, playlists info and applications.It is compatible to almost all brands of Android device:Samsung, HTC, LG, Sony, Motorola, ZTE,Lenovo,Huawei,Xiaomi,etc,.


Part 1:How to Backup Data from Android to Computer
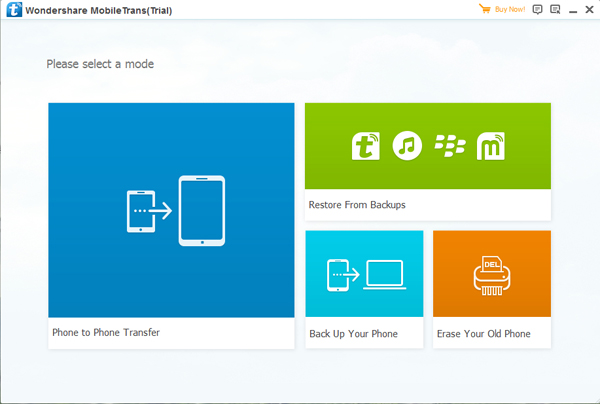
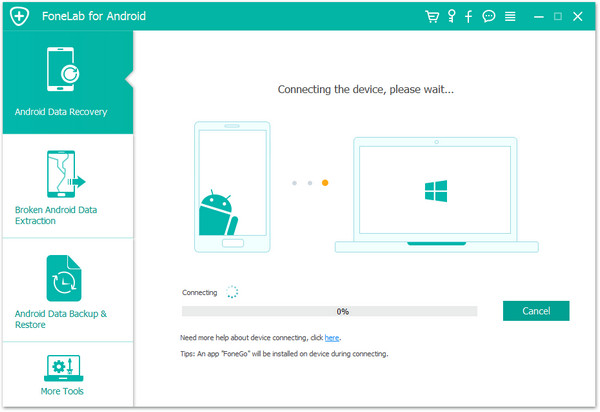
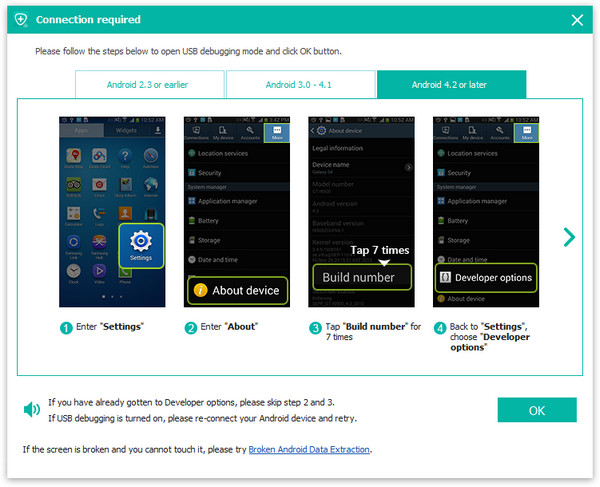
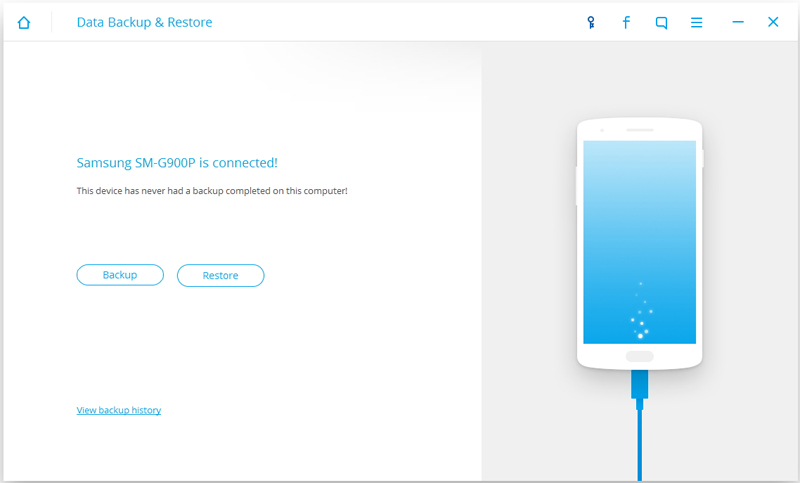
Step 1.Connect Android Device to Computer and Run Program
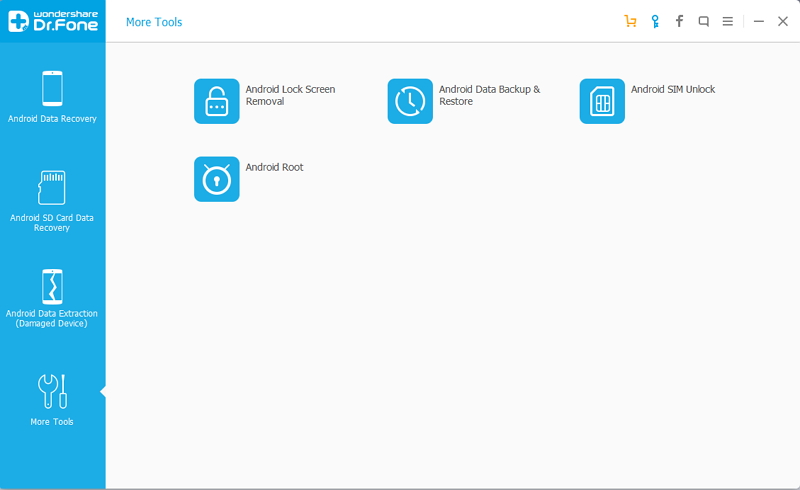
Launch Android Data Recovery and from the “More Tools” section,select “Android Data Backup & Restore” option.Then connect the Android device to your computer using USB cables.The program will detect the device soon.

Note:If you have other Android management program on your computer,make sure none of them is running.
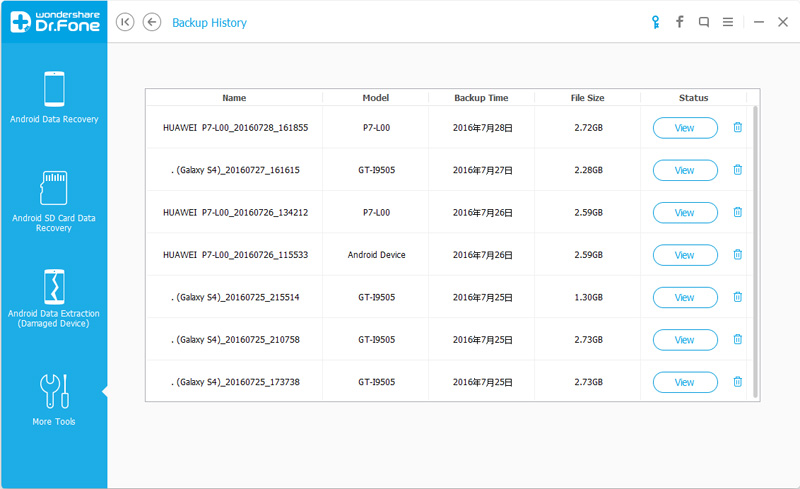
Tips:If you have used this program to back up your device previous,you are allow to view your past backup by clicking on “View backup history”.
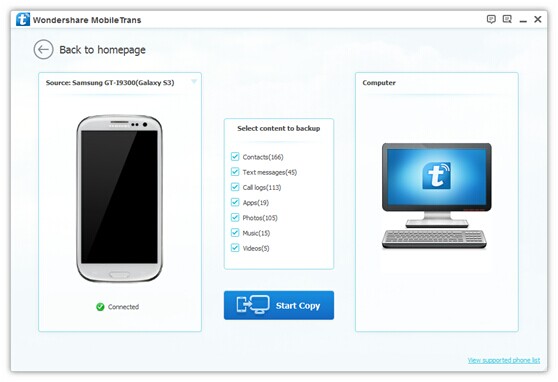
Step 2. Select File Types to Backup
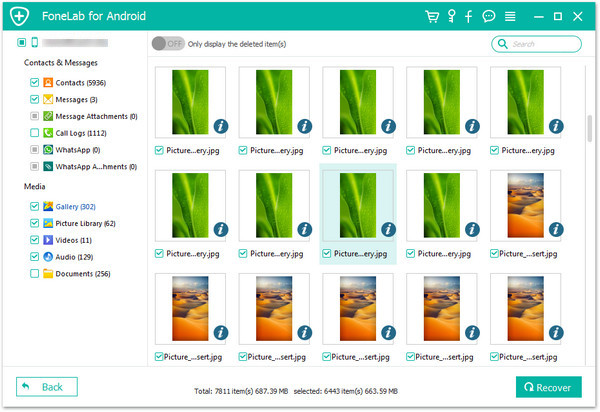
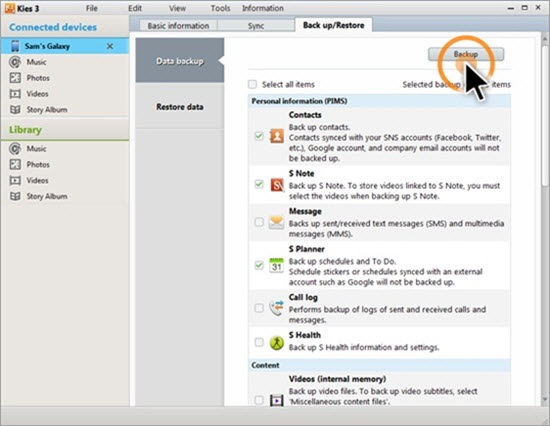
Once program has detected your device,click on “Backup” to select the data you want to backup(include in the past backup).Android Data Recovery can be used to back up 9 different file types including messages, call history, calendar, gallery, audio, video, applications and application data.Please note that to backup app data requires your Android device to be rooted.
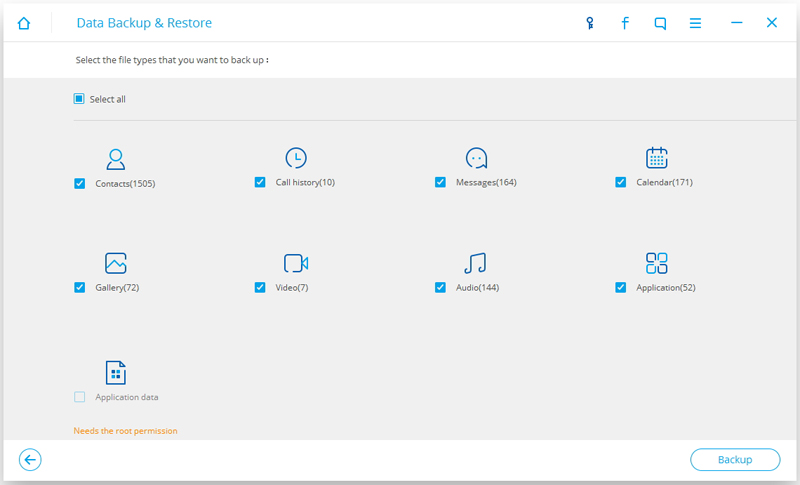
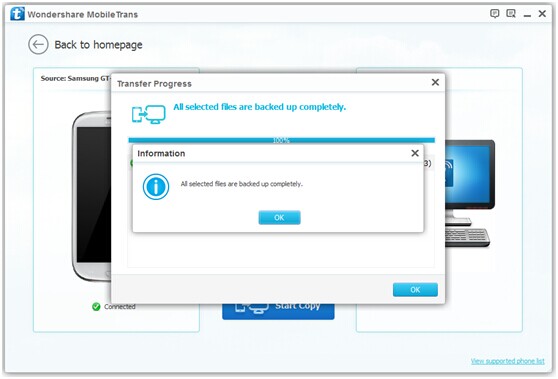
After you have selected the file which you want to backup,click the button “Backup” to start the process.The entire process will take no more than a few minutes.
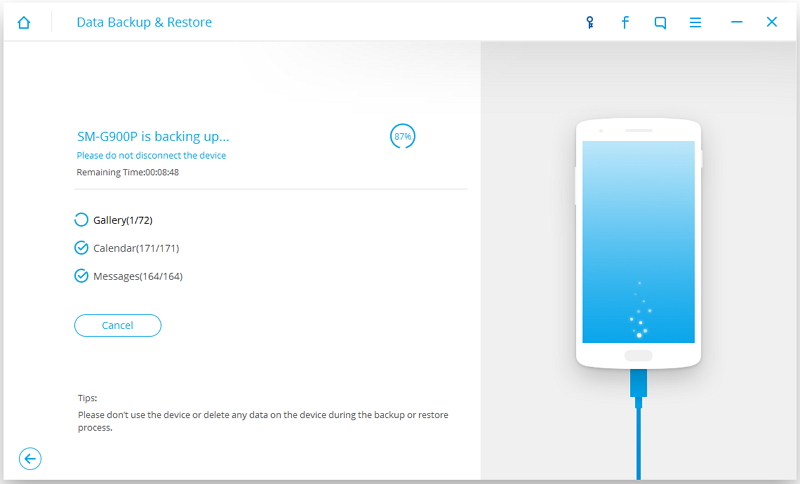
When the backup is complete,you can click on “View the backup” on the lower left corner of the window to see the details of the backup file.
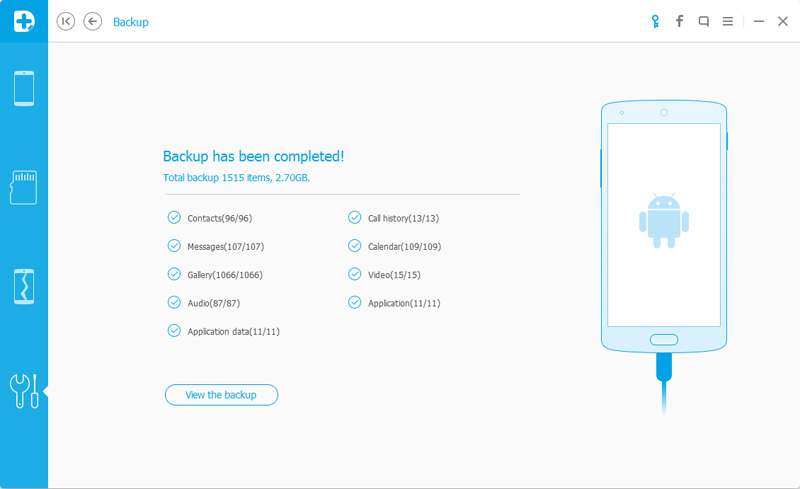
Now you can view your backup file by clicking on “View” to view all of your backed up contents.
Part 2:How to Restore Backed up Content to Android from Computer
Step 1.Connect Android Device to Computer and Run Program
Launch Android Data Recovery and from the “More Tools” section,select “Android Data Backup & Restore” option.Then connect the Android device to your computer using USB cables.The program will detect the device soon.
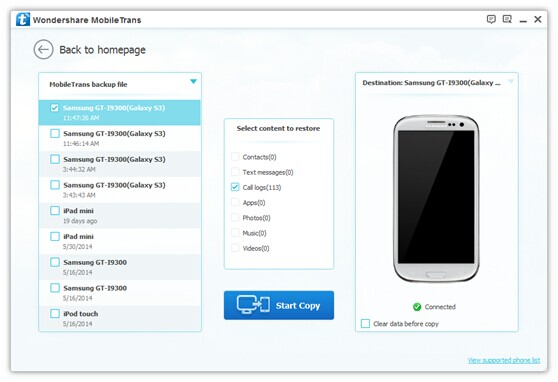
Click on “Restore” and choose from the older backup file on your computer. These backups can either be of this Android device or any other device.
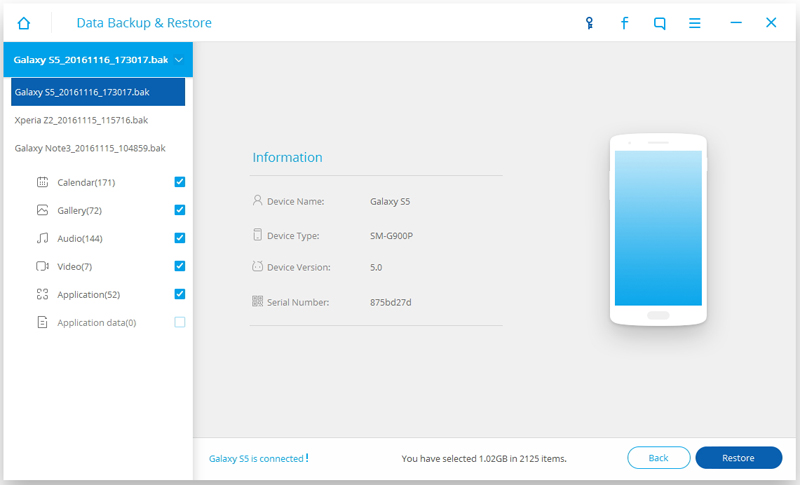
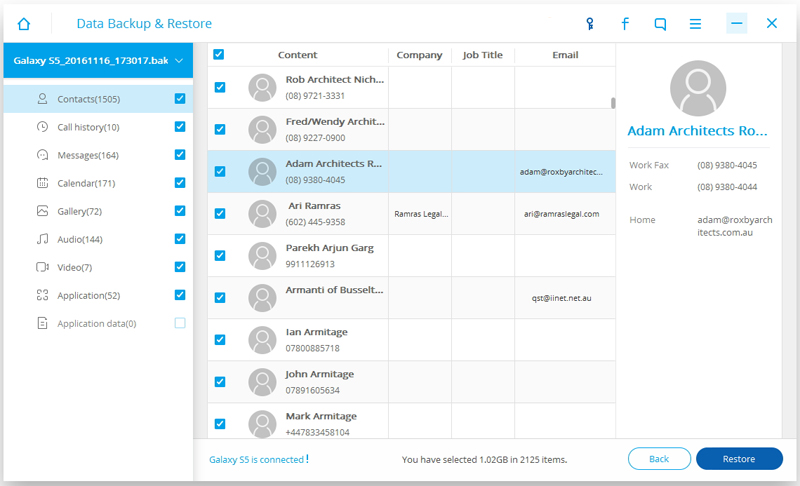
Step 2.Select Backup Data to Restore on Android
You are allow to selected the data you want to restore.Select the different file types on the left and then select the files you want.Click on “Restore” to start.
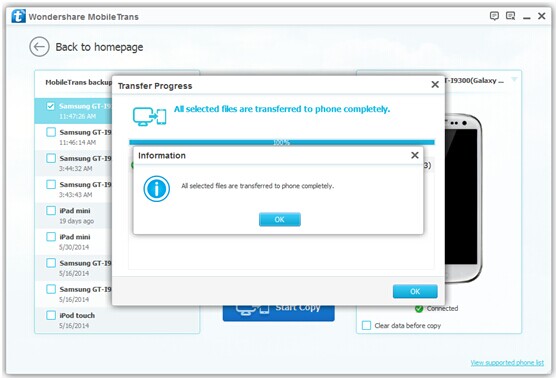
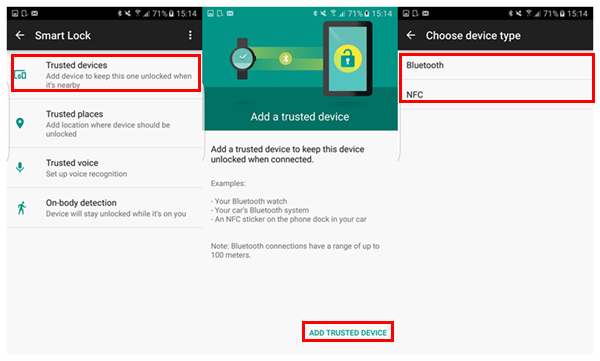
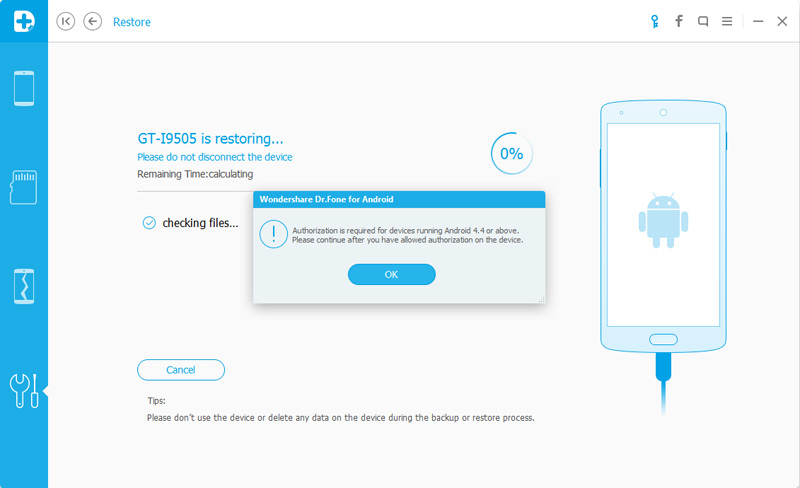
On restoring process,Android Data Recovery will require authorization during the restore process.Allow authorization and then click “OK” to continue.
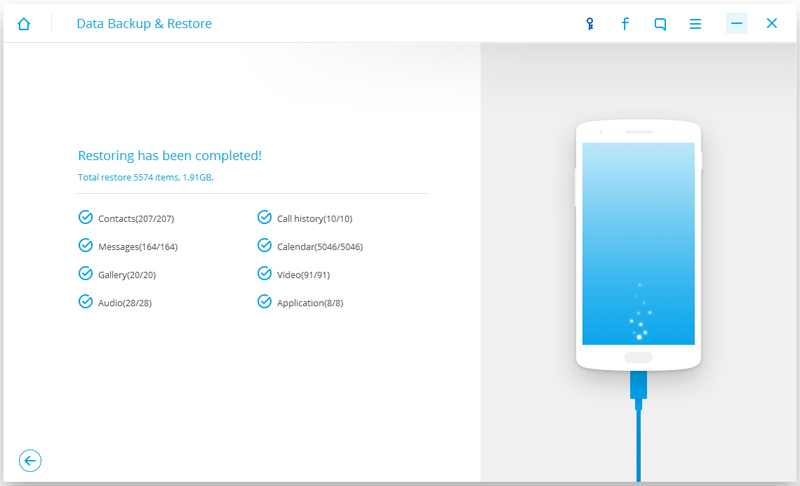
The whole process should last only a few minutes,Android Data Recovery will prompt you that the restore process has been completed along with a detailed account of which types of data have been successfully restored and which ones have not.
Tips:In order to preventing your phone from unexpected exploding, stolen or damaged.We recommend you should backup your phone data,regularly. In case the explosion damages your phone and data in it.
Free download the Android Data Recovery:
The last but not least,Android Data Recovery provide you the functions that recover lost data from Android device,restore lost data on Android SD card,retrieve lost data from broken Android,fix Android stuck issues such as fix Android stuck in locked screen,etc,.Please read more in the homepage to learn Android useful tips.
Related Article:
How to Backup and Restore Android Phone or Tablet
How to Backup Android Phone or Tablet Data to Computer
How to Transfer Android Data to Computer
How to Backup and Restore Motorola Phones