South Korean tech major Samsung finally took the wraps off its next-generation flagship phones – the Galaxy S7 and Galaxy S7 Edge – at its MWC 2016 keynote on Sunday. On the face of it, nothing has changed at all. Both the new Galaxy S phones look ridiculously similar to last year’s Galaxy S6 (and Galaxy S6 Edge). But that’s necessarily not a bad thing. The Galaxy S6 brought Samsung back into the game and a lot of this had to do with its design, which in a word was fantastic. Samsung deciding to retain much of its design elements in the Galaxy S7 is in fact a well-thought out plan.
While nothing has changed on the outside, Samsung has made sure that almost every internal aspect of the new phones gets a boost some way or the other. Moreover, the new Galaxy S phones see the return of the microSD card slot and water-proofing capabilities, after they were stripped off in the Galaxy S6. These two features alone are capable to spark a renewed interest in Samsung’s Galaxy S7 and Galaxy S7 Edge even though they look a lot like last year’s phones.
Here are the 14 useful features of Samsung’s new Galaxy S7 and Galaxy S7 Edge phone:
1. Customizable App Shortcuts on Lock Screen
When the Galaxy S7 and S7 edge are locked, two apps can be placed in the lower corners for easy access. Choose the apps you use the most-whether the camera, phone, photo gallery, S Health or even third-party apps-and the Galaxy S7 and S7 edge can provide you with faster access.
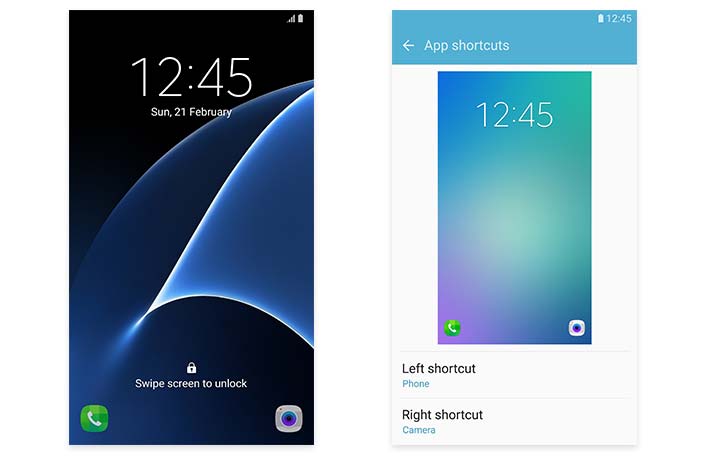
How to Set Up: Setting > Lock screen and security > Info and app shortcuts > App shortcuts
2. Multiple Lock Screen Images
For your Lock screen’s wallpaper,you can now select multiple images from your Gallery to change the look each time you check your lock screen. It allows you to choose up to 30 images.
In addition,if you long press the display while the lock screen is on,the time and other information on the display disappear leaving only the wallpaper image.That allows you to see your lock screen image without interference from any on-screen information.
How to Set Up: Settings > Wallpaper > Lock screen > Select From Gallery and choose the photos (up to 30)
3.More Ways to Manage Apps from Home Screen
With the Galaxy S7 and S7 edge,you can now easily move apps around your home screens and search for apps more simply.
To move icons to different Home screens,long press an icon, and then drag it to the Move apps icon on the upper right.The Move apps is a temporary container for managing several applications at once.Then tap or drag it to move it to another page.
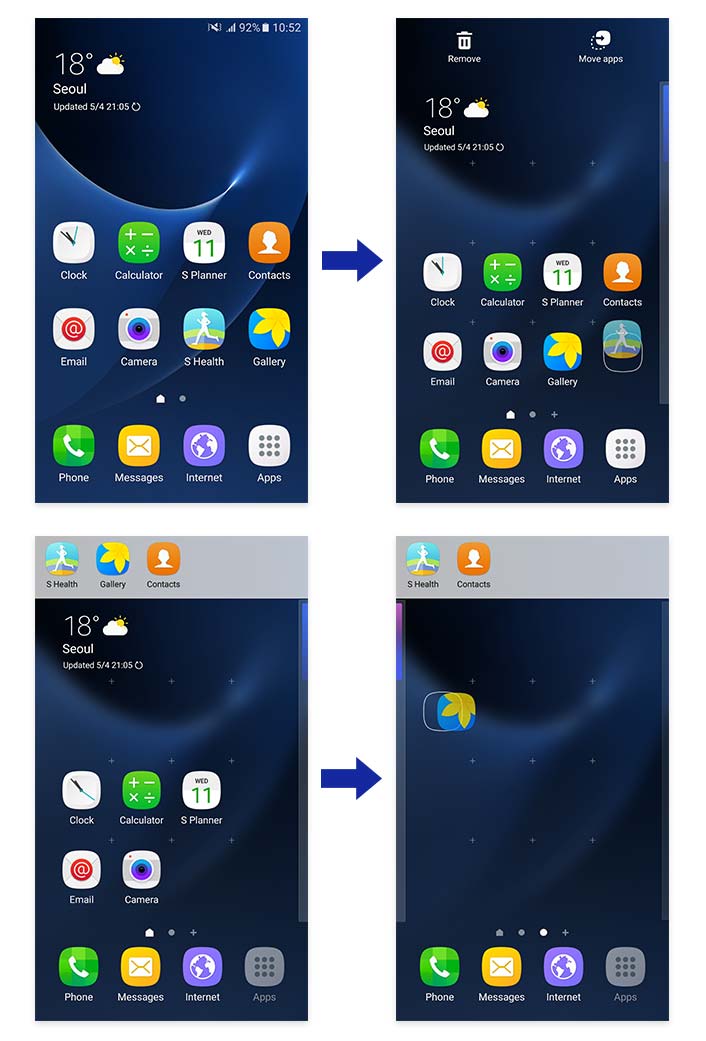
In addition,you can look for an app by name in the app tray by selecting “Search” at the top of the screen.
4.Show All Apps on Home Screen
Usually downloads all go to an app tray, but if you don’t like that way of organizing them,the Galaxy S7 and S7 edge give you an alternative method.Choosing “Show all apps on home screen” gets rid of the app tray, and moves all the apps to the Home screens.
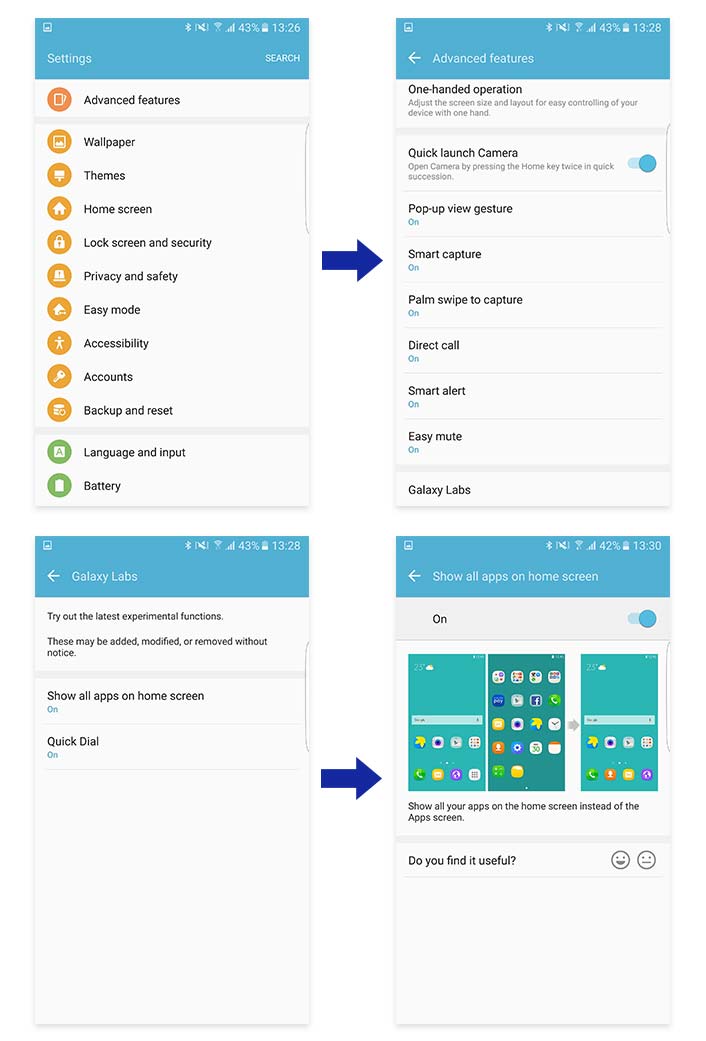
How to Set Up: Settings > Advanced features > Galaxy Labs
5. Identify Unsaved Callers
When you receive a call from a number not in your address book,the Galaxy S7 and S7 edge can check to see if that phone number is suspected of being a spammer or even a fraud-related number, and what the risk level is.Depending on that analysis, you can choose to block or report the number.
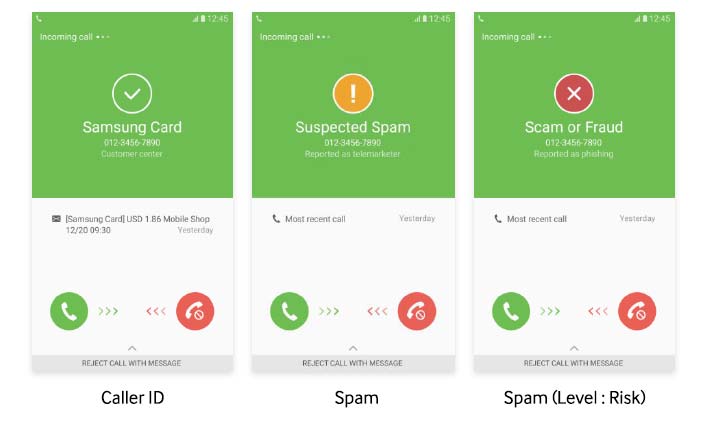
How to Set Up: Settings > Advanced features > Identify unsaved numbers
6. Display Scaling
Display scaling lets you optimize the DPI (Dots Per Inch) settings of your display.You can either choose to stay as Standard or change to Condensed.Condensing your display lets you view more content on the screen at one time with smaller icons,controls, and text.

How to Set Up: Settings > Display > Display scaling
7. Icon Backgrounds
For the Galaxy S7 and S7 edge,the look of the icons has been updated to be more unified and natural. For native apps, the icons all come in a “squircle” shape (a square with rounded edges), creating a pleasing and organized appearance. For third-party apps, users can turn on the Icon background, which creates a squircle container background for all those icons, too, unifying the look of all of a user’s apps. In addition, many icons now offer two different styles—a traditional flat look, and a more 3D look.
How to Set Up: Settings > Display > Icon backgrounds
8.Schedule Auto Restart
Often restarting a device is one of the best ways to keep it running efficiently,as it clears out the system and ensure new apps and updates are operating properly.Auto restart ensures that your Galaxy S7 or S7 edge gets a regular restarting,so you don’t have to worry about remembering to do it manually. The function also takes care to prevent restarting from happening at inconvenient times,so it only occurs when the screen is turned off and the device is not in use, but there is at least 30 percent of the battery power remaining.
How to Set Up: Settings > Backup and reset > Auto restart
In addition to these innovative features newly added to the Galaxy S7 and S7 edge,a variety of other useful functions are also available on these flagship Galaxy devices.
9. Always On Display
Now you can check on notifications, missed calls,the time,date and more without ever unlocking your display.Always On Display puts that information right on your screen,freeing you from activating your display to check them, and without draining your battery.
How to Set Up: Settings > Display > Always On Display
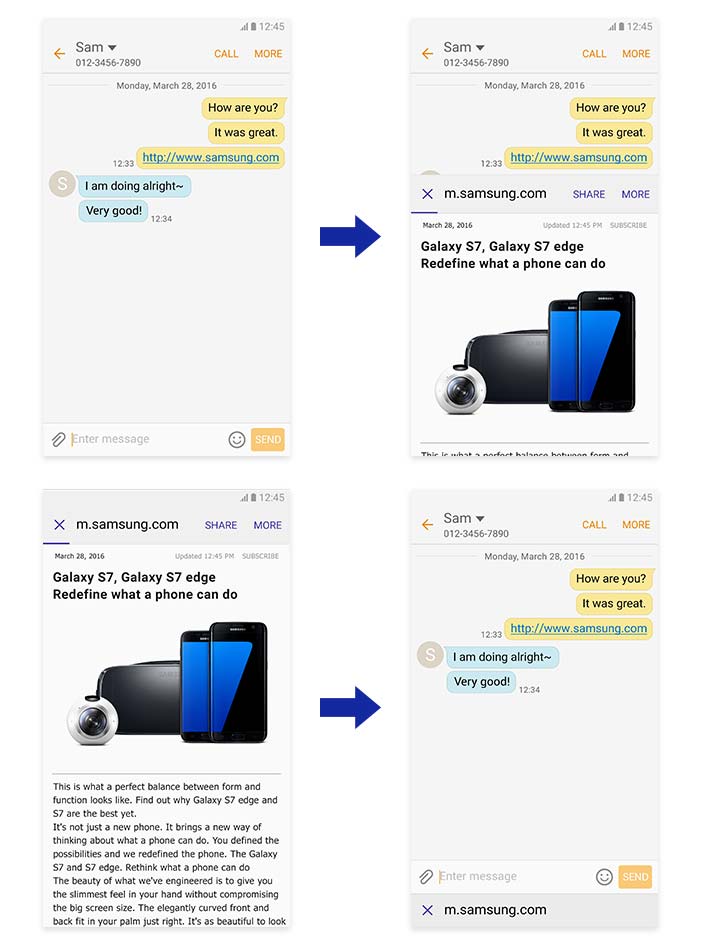
10. Cross App
With Cross App,you can use apps from within certain other apps.For example,while chatting with a friend in the Messages app,you can access photos and videos and share them,or open a URL and check out a web page, all without exiting the messenger first.
Cross App is automatically integrated with the Galaxy S7 and S7 edge.When using the Messages app, just click on the paperclip icon on the left of the Enter message panel.That gives you the choice of Camera, Gallery or Other.Camera lets you take photos or record video and send it directly to the person you are chatting with. Gallery lets you select photos and videos saved on your device.Other offers a range of apps, including Audio, Voice recorder, Memo and more.
11. Game Launcher
The Galaxy S7 and S7 edge are gamer-friendly devices,and both come with an app that makes gaming even better.Game Launcher lets you maximize your game-playing time through a variety of power-saving options.You can also turn off all notifications so nothing interrupts your gaming and lock the Recent and Back keys to prevent accidentally exiting a game.In addition,you can also take screen shots, record games and share them with friends.
How to Set Up: Settings > Advanced features > Game > Game Launcher
12. Smart Switch
Smart Switch, which makes it easy to transfer your old data to a new Galaxy device, has gotten an upgrade for the Galaxy S7 and S7 edge,with a new home layout, better app data recovery,and other improvements. A USB connector (On-The-Go Adapter) also comes with the Galaxy S7 and S7 edge,ensuring you can transmit data easily from the moment you unbox your device. Allowing transfers from devices with different operating systems,Smart Switch is a convenient way to move all your files, including contacts, chat messages, photos,calendar, apps and music.
How to Set Up: Settings > Backup and reset > Open Smart Switch
13. Quick Dial
Quick Dial makes calling your contacts faster and easier.Once enabled,you just need to give the home key a long press (even if the display is off),and then speak the name of the person you want to call.Quick Dial takes care of the rest.Also,the feature’s machine learning allows your device to become more familiar with your voice over time,thus increasing the device’s functionality as you use it more often.
How to Set Up: Settings > Advanced features > Galaxy Labs > Quick Dial
14. Tasks edge
This is a function only on the Galaxy S7 edge model.Just as People edge puts your most important contacts right into the curved edge screen for easy access,and Apps edge does the same for your favorite apps,Tasks edge lets you assign a shortcut for your most common tasks.Setting an alarm, composing a text message or creating an event can be assigned to the edge of the display,for fast, easy access.
How to Set Up: Settings > Edge screen > Edge panels
Read more:
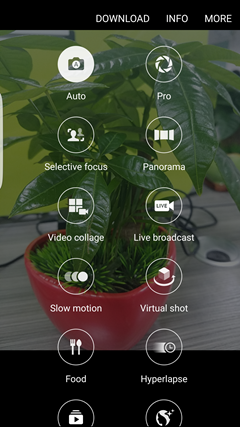
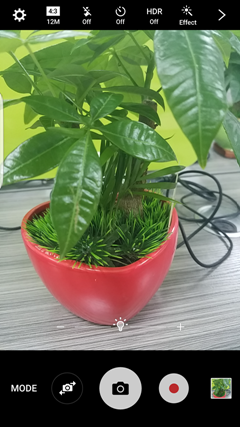
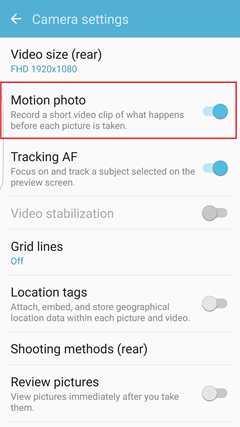
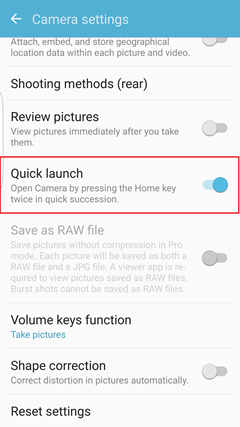
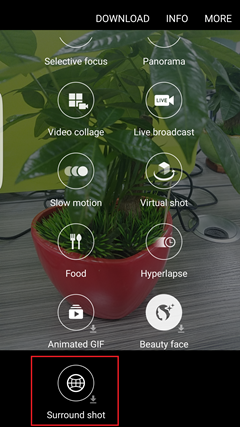
How to Make Full Use of Samsung Galaxy S7(Edge) Camera
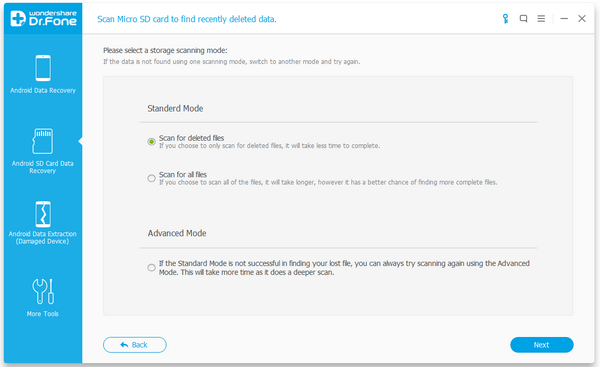
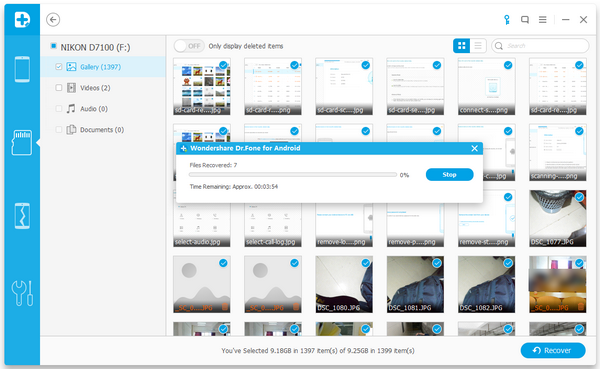
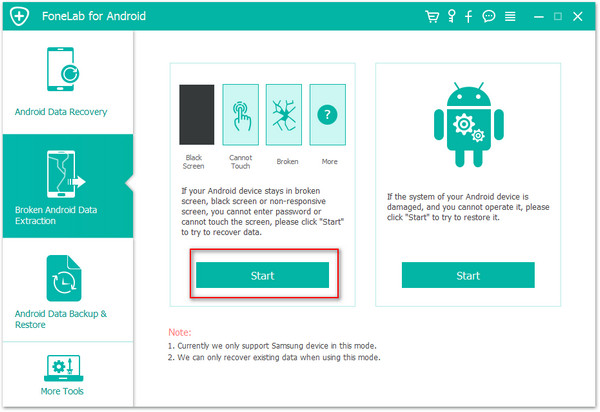
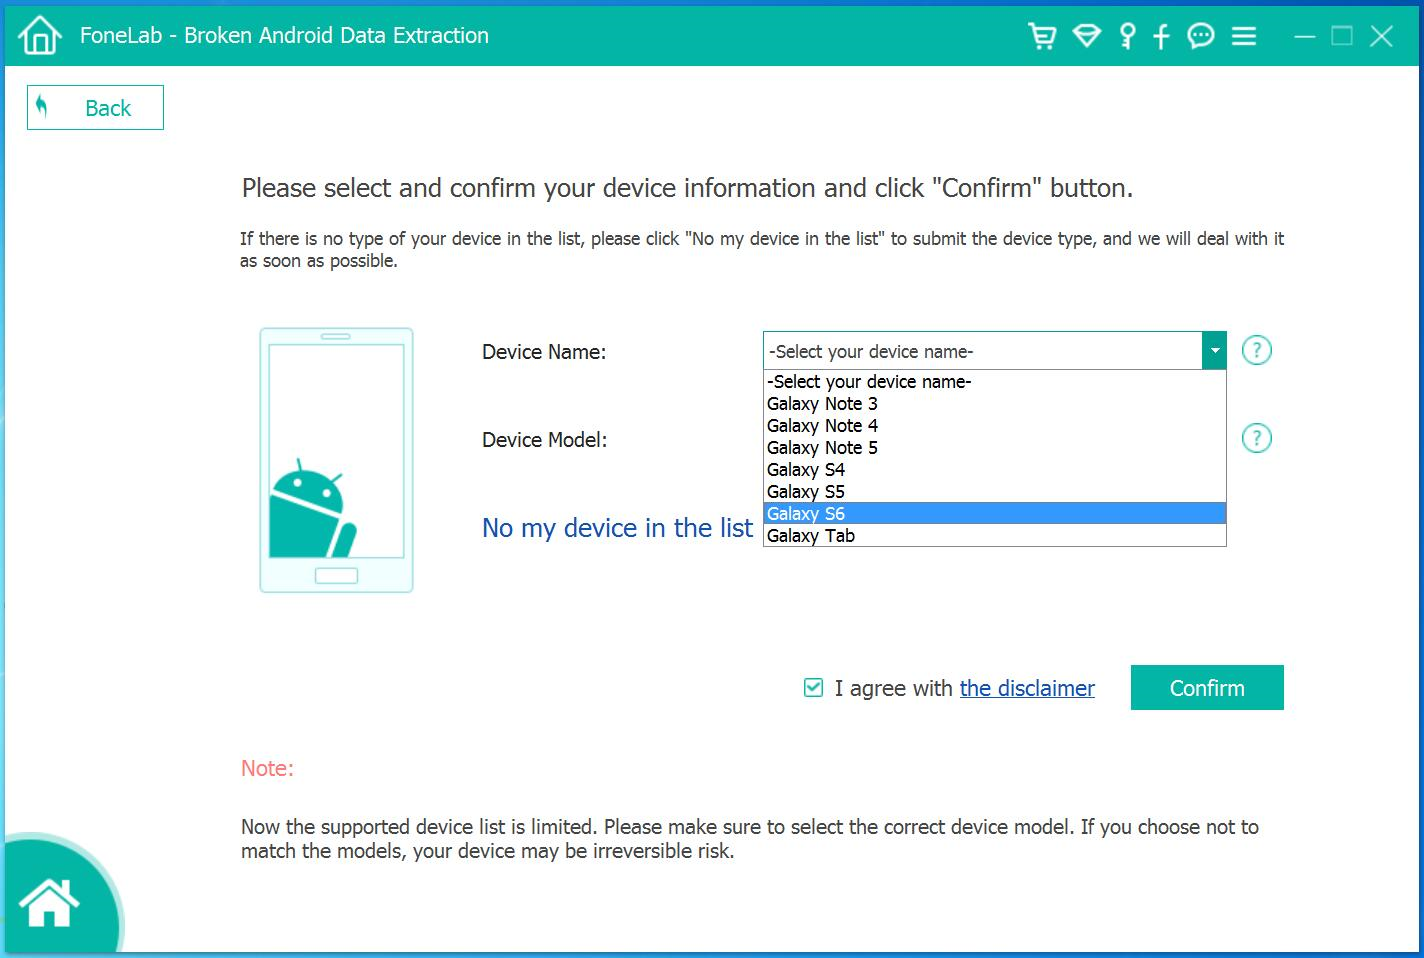
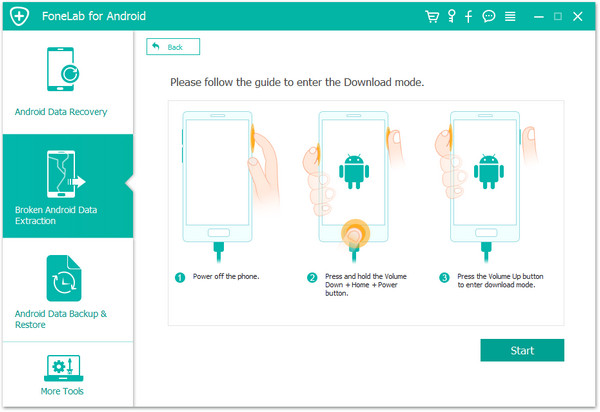
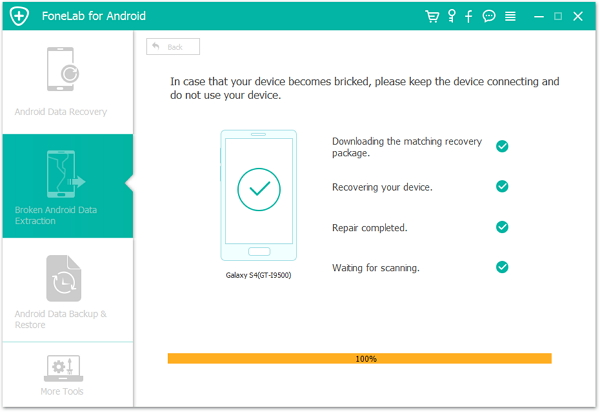
How to Recover Data from Samsung Galaxy Samsung Galaxy S7(Edge)
How to Get More Internal Storage from Samsung Galaxy S7(Edge)