“I have deleted some of my WhatsApp messages on new Samsung Galaxy Note 9.I asked my friend for help, and she introduced a data recovery software which named the Android Data Recovery. Now I just want to get deleted WhatsApp history back. Is there any way could help me recover my deleted WhatsApp messages from Galaxy Note 9?”
Undoubtedly, Samsung Galaxy Note 9 would become the most worth looking forward mobile phone in 2018, it is said that Note 9 will be equipped with a new difficult technology: under display optical fingerprint.In addition, Note 9 will further optimize the dual-camera and S-Pen functions in the basic configuration. Unfortunately, even with the best quality, the Galaxy Note 9 can not withstand the scourge of data loss and still risk losing critical WhatsApp data history and messages.As we know, restoring these data is not easy. It‘s very expensive if you ask a data recovery expert for help. In order to recover deleted WhatsApp messages from Galaxy Note 9 without data lost, you may need some help from external applications. Fortunately, today we will provide the best application that can well recover WhatsApp history from Samsung Galaxy Note 9.
Lost WhatsApp History from Samsung Galaxy Note 9
WhatsApp,one of the most-used applications on Samsung Galaxy phones, can realize span platform communication and which is increasingly becoming one of the most common Internet social applications in our daily life. It provides users with a more convenient and simple way of communication, we can use it for personal and work purposes,share all kinds of communication information with friends, families, and even colleagues or send unlimited messages to contact anyone anywhere.But have you ever wondered how scary it would be if our WhatsApp history was lost! If one day you have pressed the Delete Chat or Delete Session button accidentally. Or worse, someone uninstalled your WhatsApp and you realize that your chat history is now lost forever. What will you do?You must reluctant to let it go,right?Thus, we now write this tutorial and provide several simple ways to help you restore deleted WhatsApp history on Samsung Galaxy Note 9/8/5/4 devices.
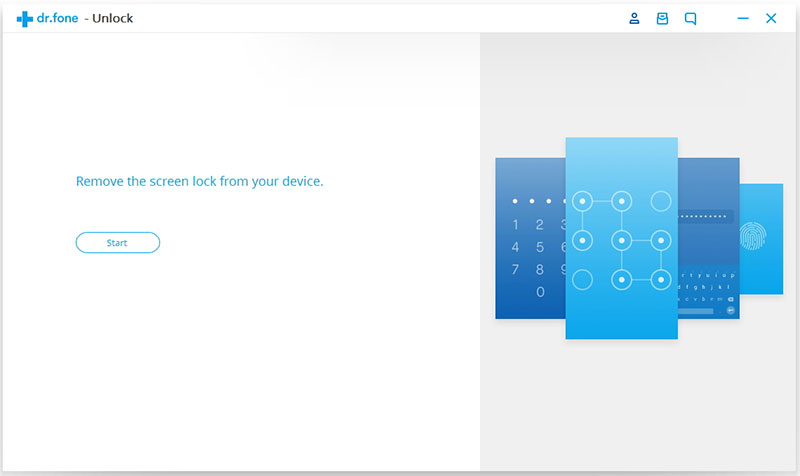
Restore Deleted WhatsApp History on Galaxy Note 9
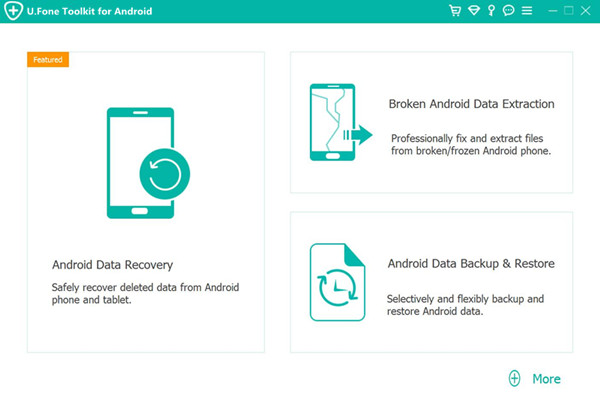
U.Fone Android ToolKit – Android Data Recovery (Samsung Data Recovery) is a pretty professional recovery tool to help you recover deleted WhatsApp history from Samsung Galaxy Note 9 in a simple and efficient way.You can using it to restore almost all deleted data, such as contacts, text messages, music, photos, videos, call history, WhatsApp, and other data on Samsung Galaxy Note 9 devices. There are many reasons for the deletion or loss of data on Android like due to restore factory settings,accidentally or intentionally deletion,virus infection,updating operating system and more.On the other hand,except Samsung Galaxy Note 9/8/5/4,almost all Android devices (including Samsung Galaxy Note/Samsung Galaxy S, HTC, LG, Sony, Motorola, Nokia and more android phones and tablets) data can be restored to your computer.In a word, the Android Data Recovery is highly recommended by millions of Android users for data recovery and it is no exaggeration to say that it is the best Android smart phone and tablet recovery software in the world.The Android Data Recovery program can support Android 8.0 and below devices, which is compatible to almost every operating system.
Here is the trial version of the Android Data Recovery which can fully compatible with Windows and Mac version.


The procedure of Android Data Recovery is very easy. In simple terms you only need 5 simple steps – Connect, enable USB debugging, analyze, preview and restore.Now let me teach you the easiest measures to recover all your important WhatsApp history!
How to Recover Deleted WhatsApp History from Samsung Galaxy Note 9
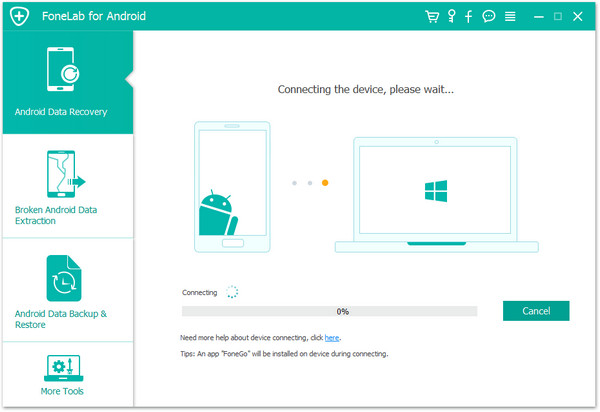
Step 1.Download Program and Connect Samsung Galaxy Note 9 to the Computer
Install the Android Data Recovery on you computer and select “Android Data Recovery” option.Then connect you device by USB cable.

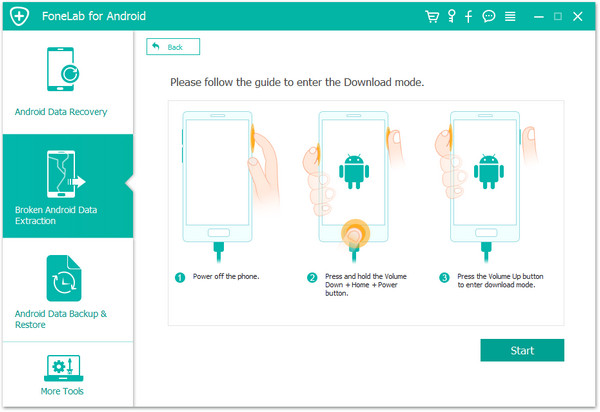
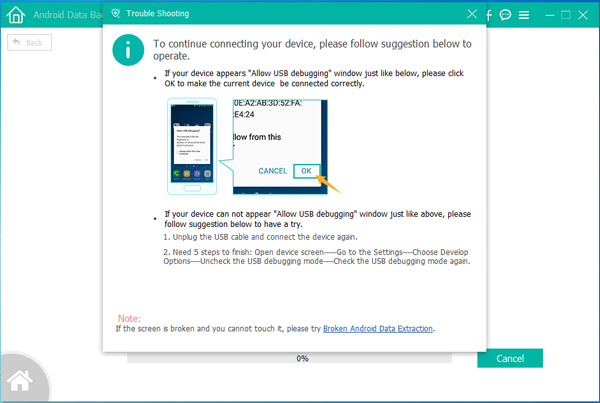
Step 2. Enable USB Debugging on Galaxy Note 9
Once connecting your device to the computer, please allow the program detect your Galaxy Note 9 to the computer by clicking “OK“.

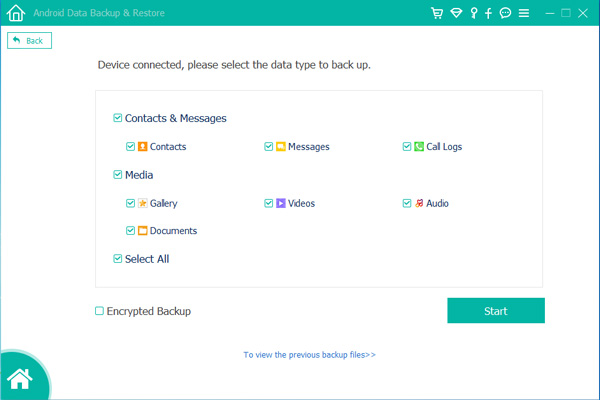
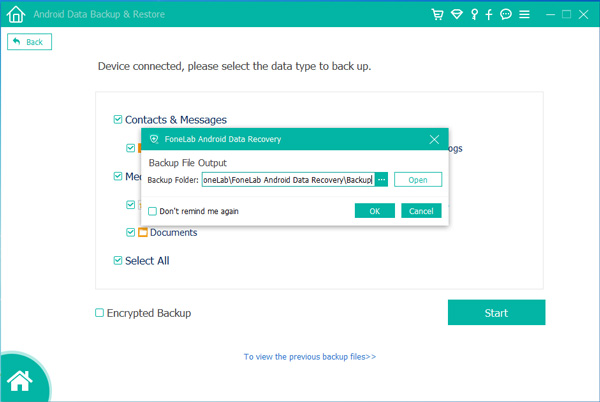
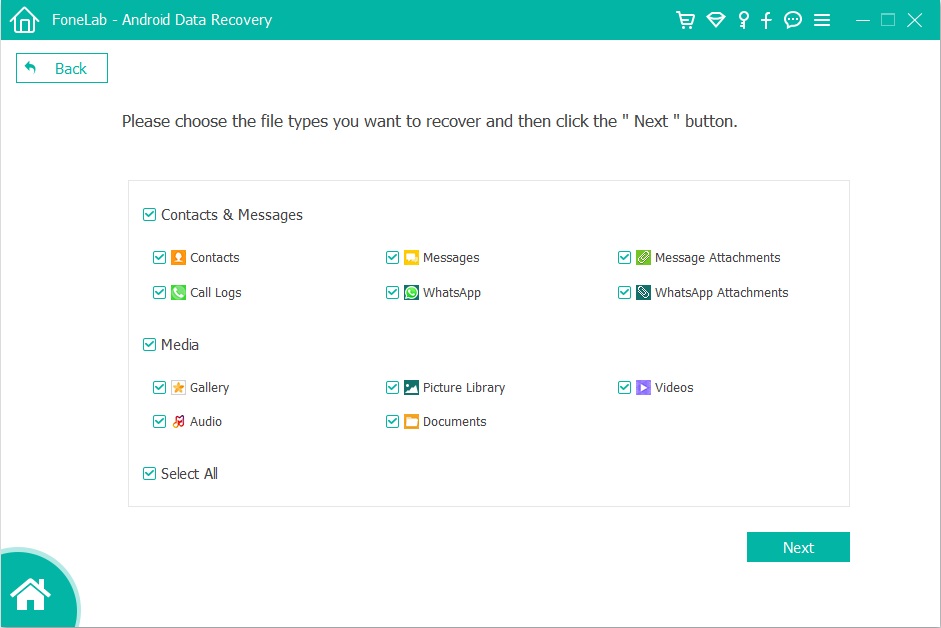
Step 3. Select WhatsApp Files to Recover from Samsung
You can select the any files you need to recover from Samsung. For WhatsApp recovery, you should click “WhatsApp” & “WhatsApp Attachments” files then clicking “Next“.
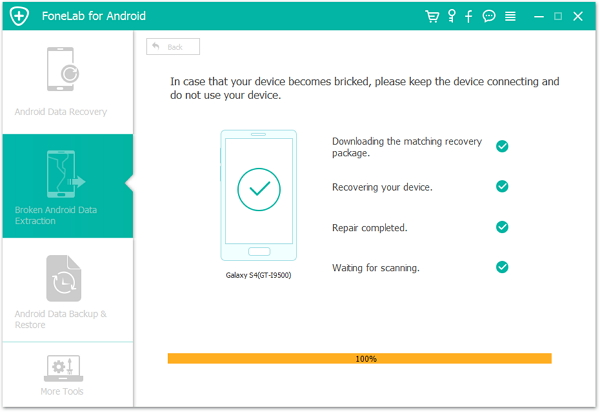
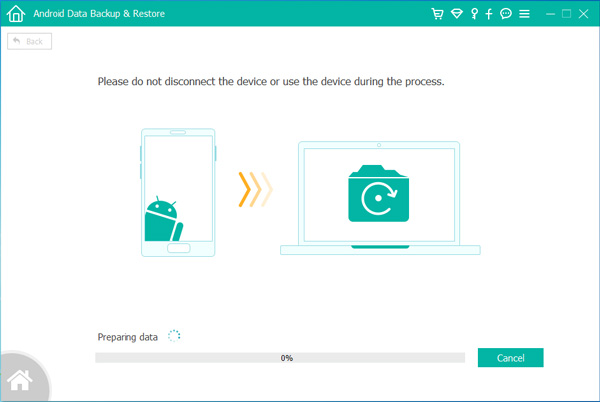
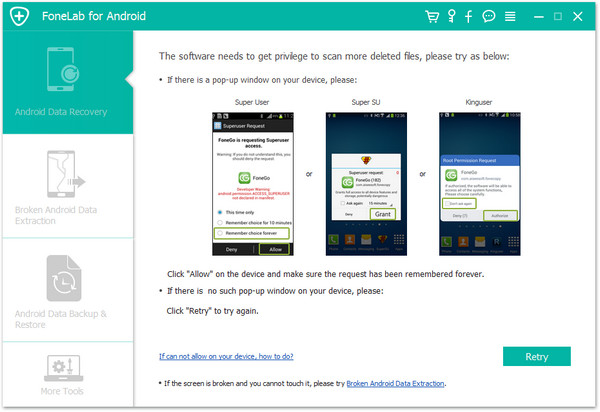
Step 4. Scanning Galaxy Note 9 for Deleted WhatsApp Data
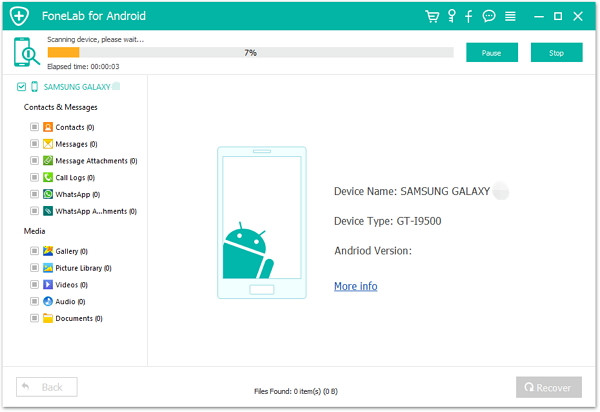
Now you must click “allow” to allow program scan and analyze the deleted data from Samsung Galaxy Note 9.
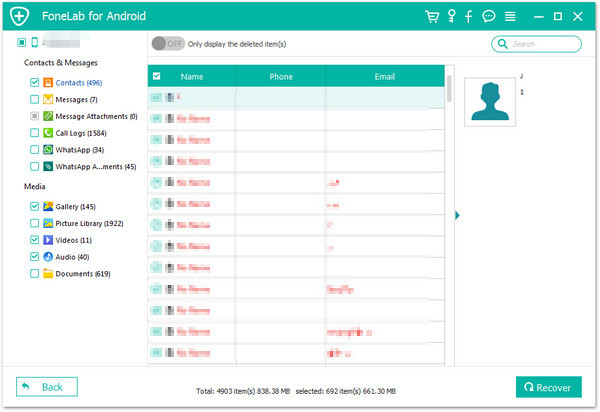
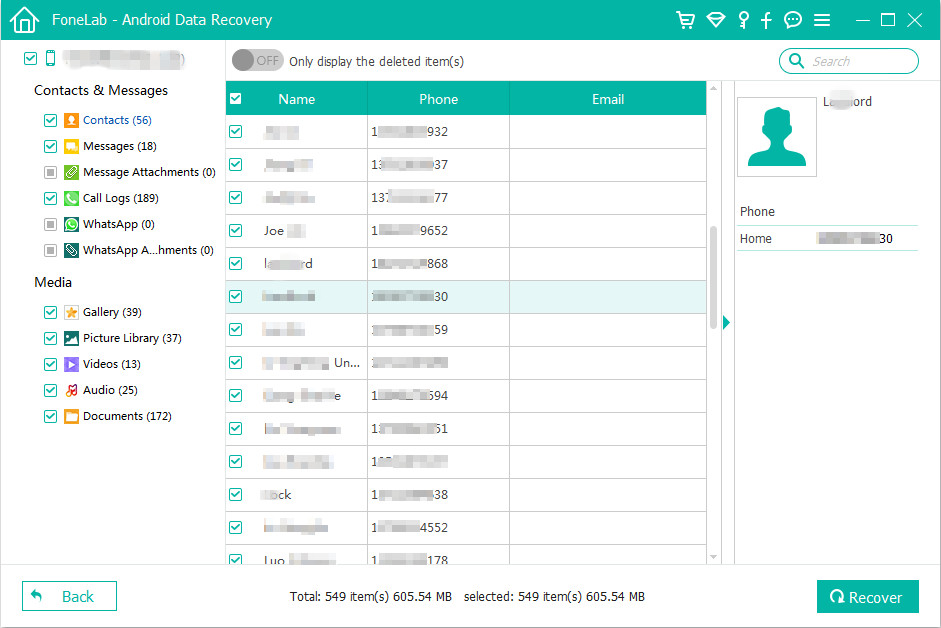
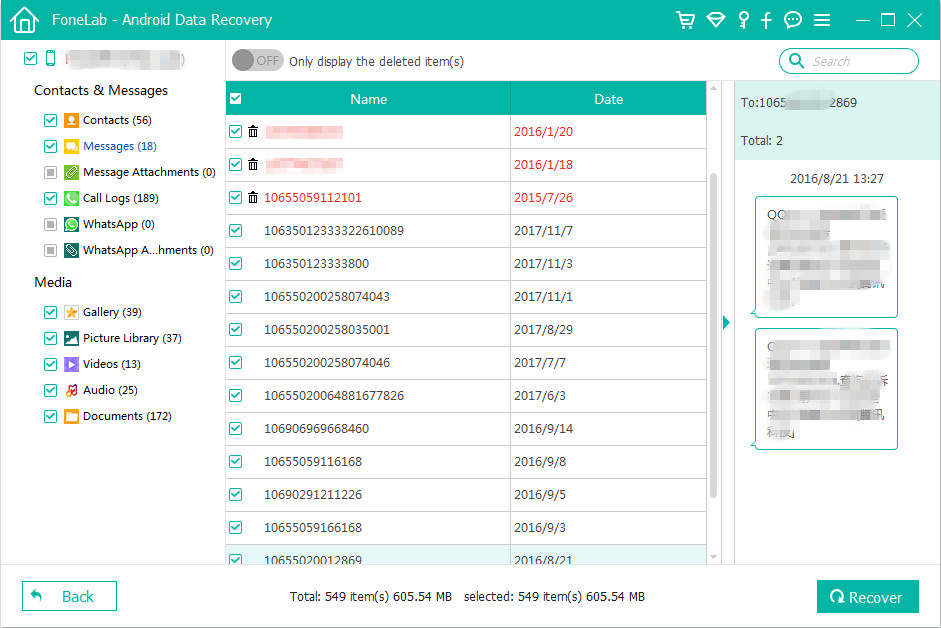
Step 5. Preview and Recover Deleted WhatsApp History
After the program finish scanning, all the data will be displayed for recovery. Then in the last step, check and mark those you want and click “Recover” under “WhatsApp” & “WhatsApp Attachments” files to save the selected data from Galaxy Note 9 on the computer.
Related Articles:
How to Recover Deleted Data from Samsung Galaxy Note 9
How to Recover Deleted Photos/Videos from Samsung Galaxy Note 9
How to Transfer iTunes Music to Samsung Galaxy Note 9
How to Transfer iTunes Videos to Samsung Galaxy Note 9
How to Root Samsung Galaxy Note 9 on Computer with One Click