Now that Apple has announced the newest version of iOS- iOS 11, it’s time to dig into all the major features we’ve been hearing about since iOS 11 was first previewed in June. And once you install iOS 11 on your iOS device, you’ll discover that there’s more to the update then what Apple featured during its developer conference. iOS 11 is full of hidden goodies, including some pretty useful tools such as a take notes of Apple pencil, a new way to interact with Siri, and more. Here are the coolest 10 new iOS tricks to explore in iOS 11.

Do more with Live Photos
In 2015, iOS 9 gave us Live Photos, animated clips formed by recording short snippets of video before and after snapping a pic. iOS 11 takes this feature and lets you customize it. Open a Live Photo in the Photos app, swipe up, and you will see new editing options: Apply Loop to make the clip repeat over and over, Bounce to make it play forward and backward and forward again, and Long Exposure to compress it into a single frame, creating the effect of a long exposure. These video processing options resemble those in Instagram, but you can get them without having to post your content to social media.
Drive Safely
The Do Not Disturb mode in iOS has been around for a while. Now, iOS 11 will automatically apply it while you’re in your car. This means that, when you’re at the wheel, your phone will mute notifications and respond to texts on your behalf so you can concentrate on the road. To try it out, just hop in the car and start moving, and the new mode should kick in. If you’d prefer to enable it manually, or to tweak your SMS auto-replies, you can adjust these in Settings, under the Do Not Disturb options.
Play with Augmented Reality
Thanks to the new ARKit platform for developers, iOS 11 has extra augmented reality powers, which means it can support a wide range of AR apps. You’ll need to wait for the first wave of third-party apps, but you can test out at least one AR option right away. Open Maps, head to a city that supports the Flyover feature, and tap the Flyover button. When you begin walking around the room, you’ll move around that city, viewing it from above like an AR-powered Godzilla.
Ask Siri to put on your Favorite Music
The iOS 11 version of Siri comes with some extra perks: The assistant offers more natural-sounding voices and makes news and website recommendations based on your past activity. In addition, Siri can now put on some tunes for you. Just say, “Play something I like,” and the digital assistant will take care of the rest. For this to work though, you do have to be a paid-up member of the Apple Music club.
Type with one Hand
On its default keyboard, iOS 11 offers a one-handed mode that makes it easier to type when you only have one hand free. It essentially compresses the keyboard and shifts it to either the left or right side of the screen. To implement it, press and hold the emoji button on the keyboard, then slide your finger over to either the left- or right-handed layout, whichever one you prefer. To go back to normal, access the same pop-up menu again.
Explore your Stored Files
If your phone runs iOS 10, it already has an iCloud Drive feature. That gets an upgrade with iOS 11, in the form of the dedicated Files app. Files makes all of your folders available to search—you can browse through iCloud, your device’s local storage, and even third-party storage accounts like Dropbox and Google Drive. To launch the app, tap on the Files icon.
Surf the Redesigned App Store
With the arrival of IOS 11, Apple is revamping the App Store. The layout is simpler, Games has its own tab, and the algorithm should do a better job of directing you towards the latest awesome apps. On desktop computers, the App Store inside iTunes has also been upgraded to match. To see these changes, go ahead and open the App Store on your phone or tablet.
Add Apps to an iPad’s Dock
Install iOS 11 on an iPad, and you get a new dock at the bottom of the screen, which more closely resembles the dock on an Apple computer running macOS. In other words, you can add apps: Simply tap and hold on an icon and drag it down to make it part of the dock. To launch one of these apps, tap its icon in the dock. To open it in windowed mode, where one window appears on top of another, tap and drag the icon to the middle of the screen. To see that app in Split View mode, where it only covers part of the screen (another app can cover the rest of the screen), tap on the icon and then drag it to the left or right of the screen.
Drag-and-Drop on an iPad
Drag-and-drop is another feature that iOS 11 brings to tablets. It works exactly like it sounds: In Split View, tap and hold on some highlighted text, or an image, or a file, and then drag it across to an app on the other side of the screen. You should be able to use drag-and-drop in all Apple apps—and, once developers add the functionality, many third-party titles as well.
Take Notes with Apple Pencil
If you own an iPad Pro and an Apple Pencil, iOS 11 provides some extra functions. To start taking searchable notes, for example, you don’t need to unlock your tablet—just tap the Pencil on the lock screen. In addition, a new feature called Instant Markup now lets you instantly annotate a PDF or screenshot by tapping it with the Pencil. Finally, Mail now supports in-message drawings, so your emails can incorporate cute doodles or informative notes and illustrations.
More Tutorial about iOS 11:
How to Update iOS 11 on iPhone without Computer
How to Install iOS 11 on iPhone without Data Loss
How to Backup iPhone Data before iOS 11 Update
How to Fix Bricked iPhone iPad after iOS 11 Update
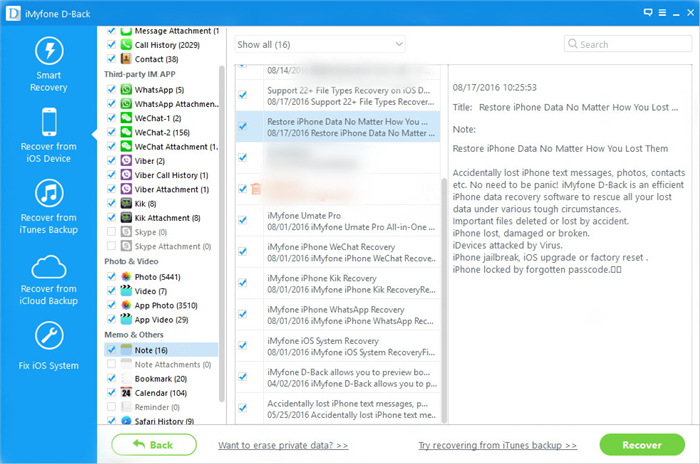
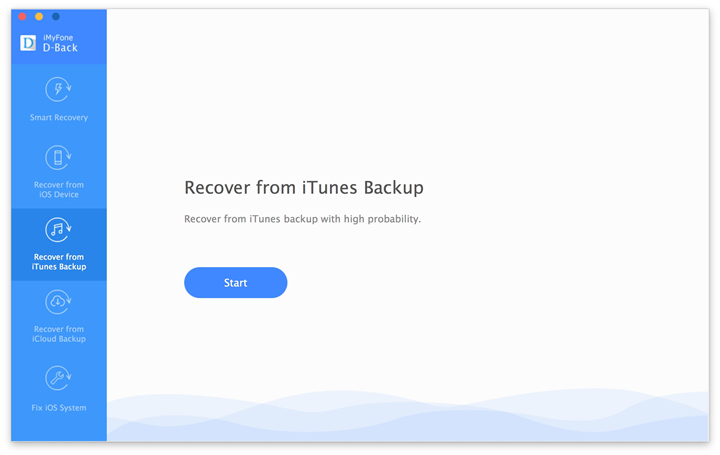
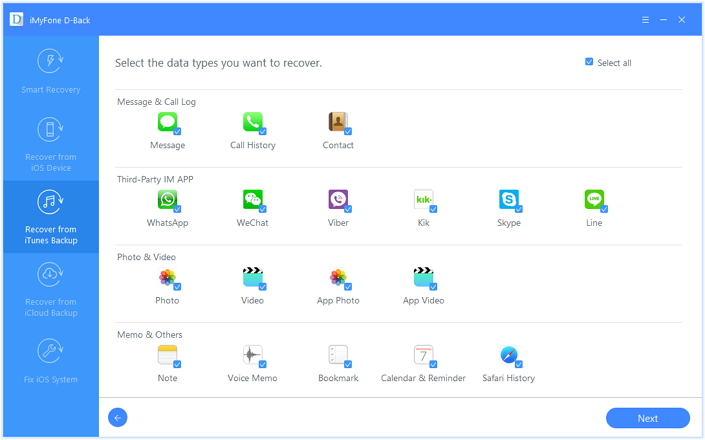
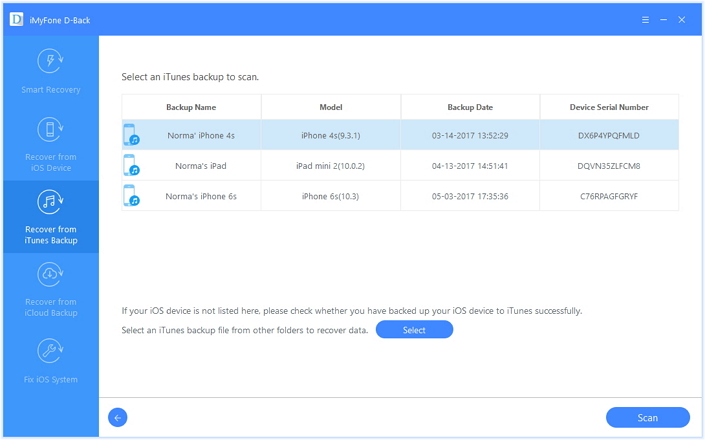
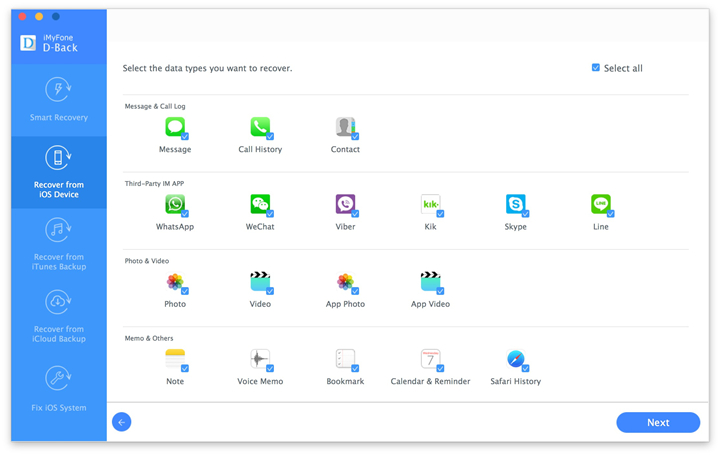
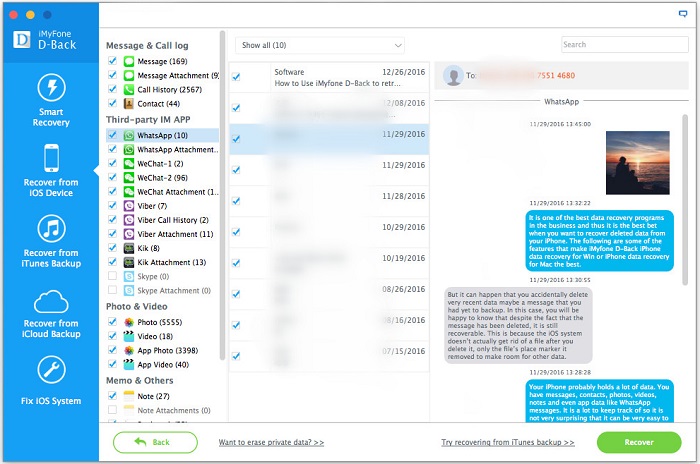
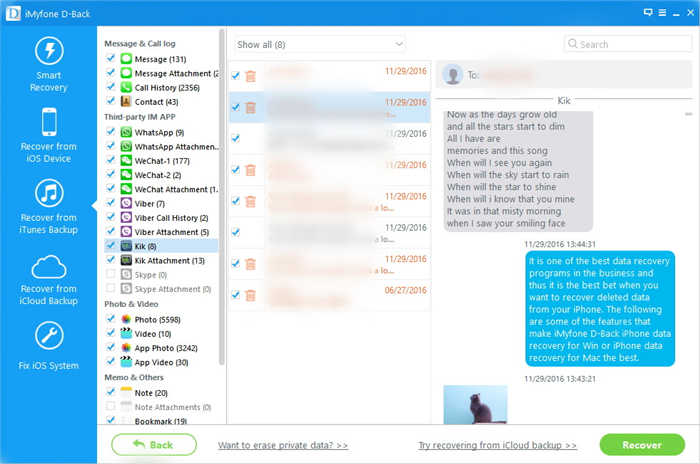
How to Recover iPhone Data after iOS 11 Update
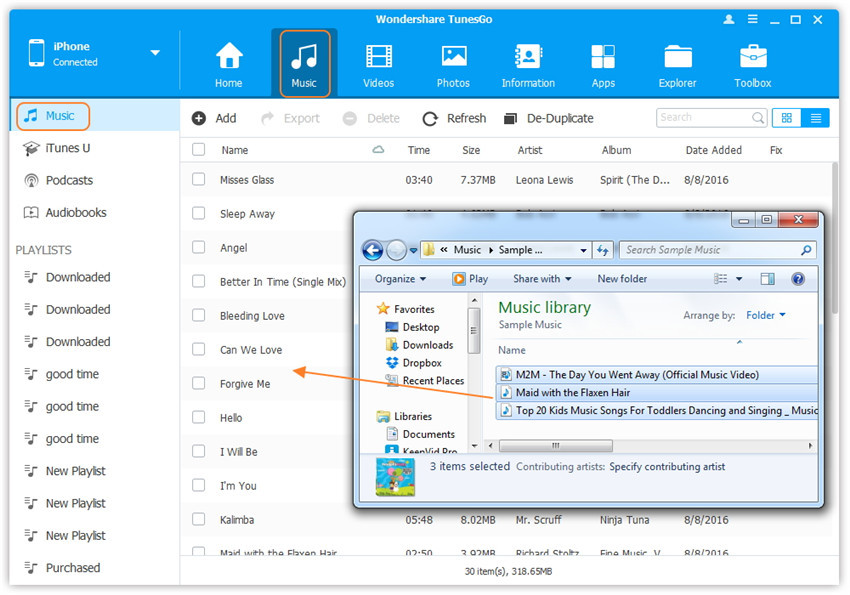
iPhone Manager – How to Transfer and Manager Files on iPhone X/8/7/6S/6/SE