[Summary]: Want to know how to use Smart Switch to transfer data from an Android, iOS iPhone/iPad, BlackBerry or Windows mobile phone to new Samsung Galaxy phone? This article teach you the detail guide on how to transfer contacts, photos, music, videos, messages, notes, calendars and more from your old phone to Galaxy Fold, Galaxy S10/S10+/S10e/S10 5G/ Galaxy S9/S9+, Galaxy S8/S8+ and Galaxy Note 10/Note 9/Note 8 with Free Samsung Smart Switch.
You may want to know:
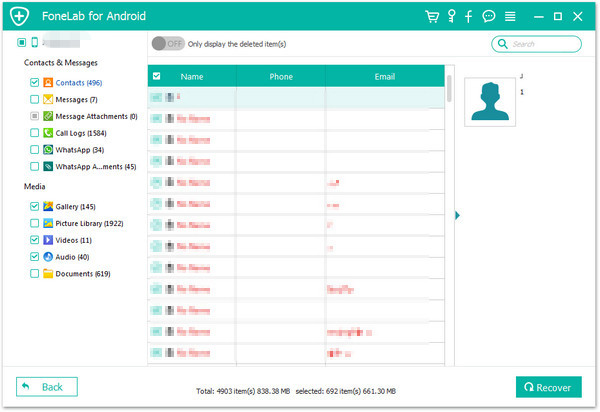
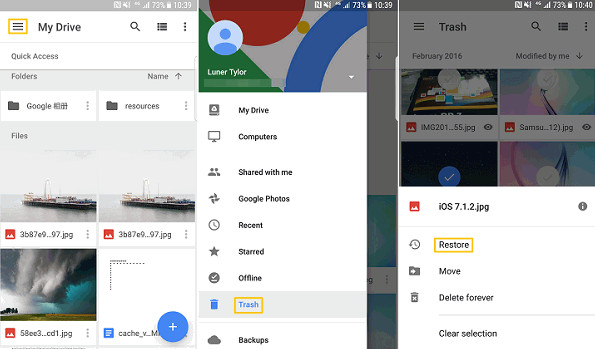
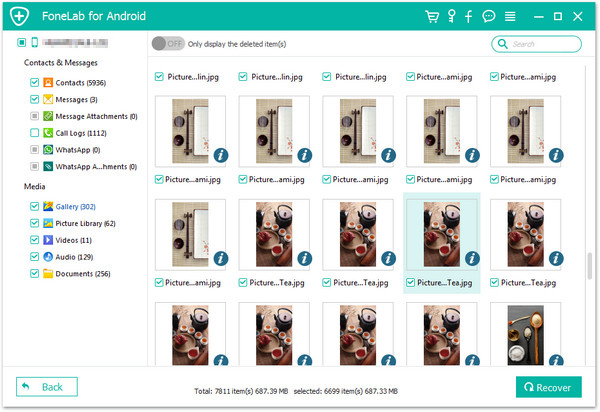
* How to recover deleted photos from Samsung S9/S9+
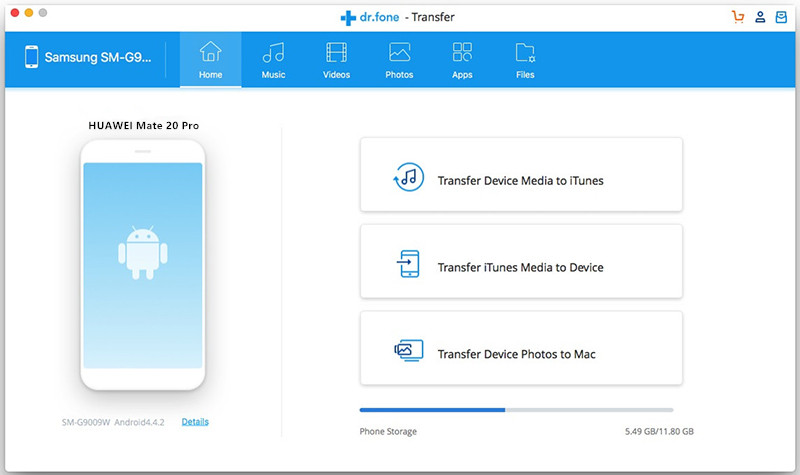
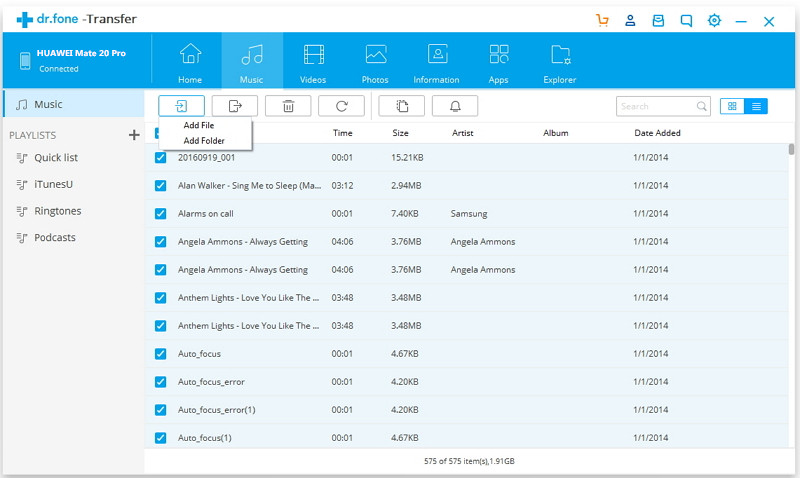
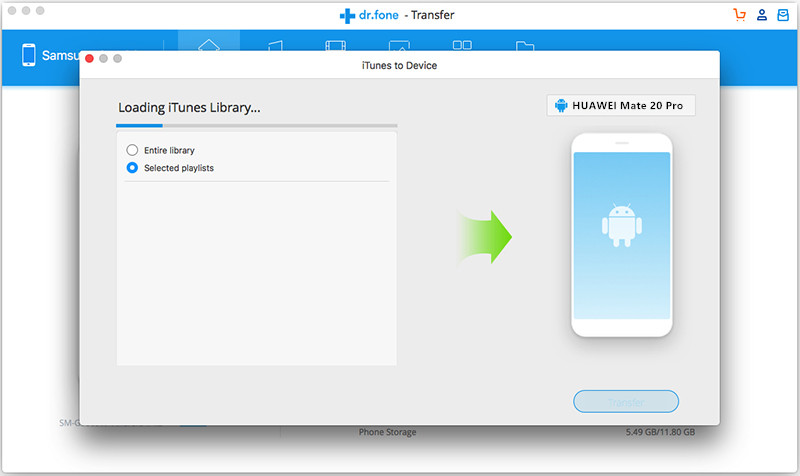
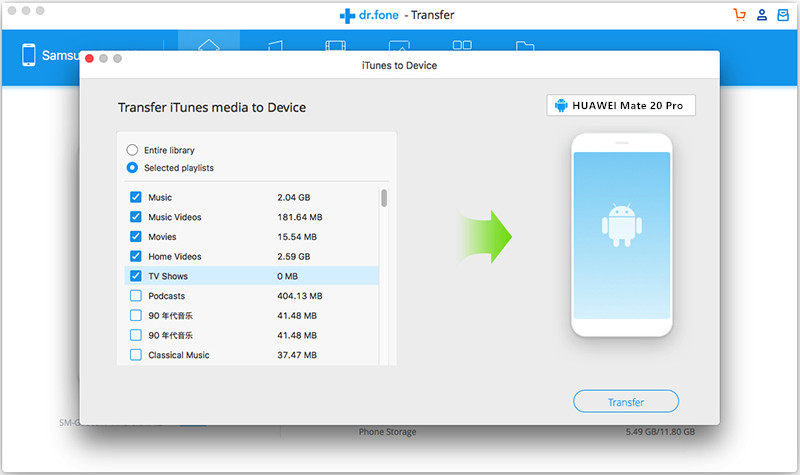
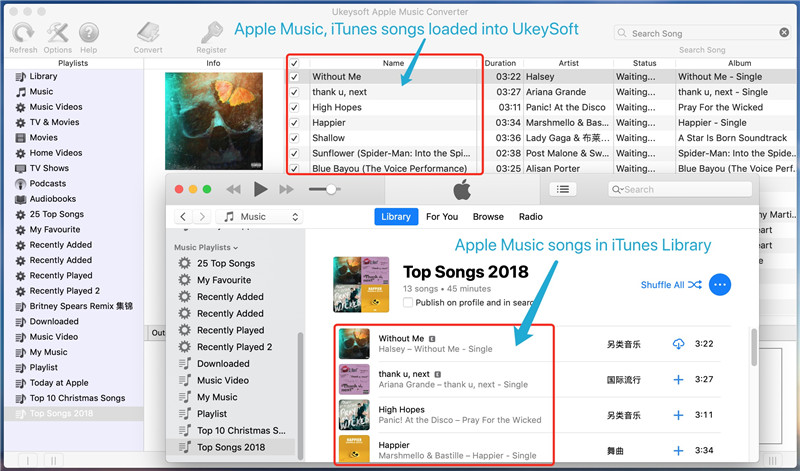
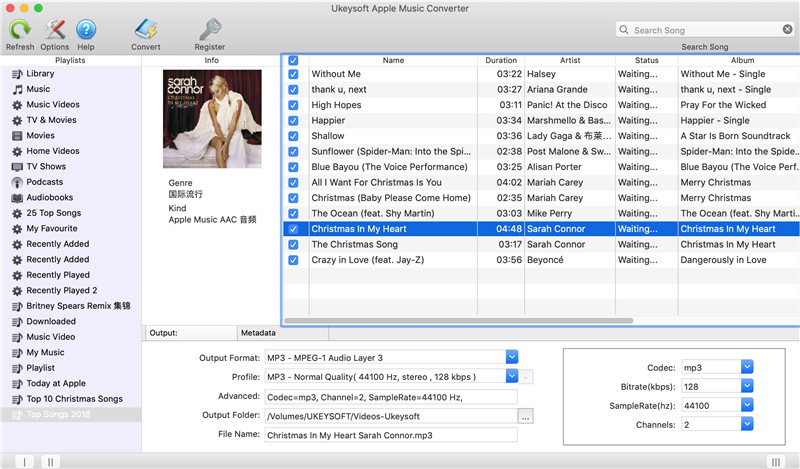
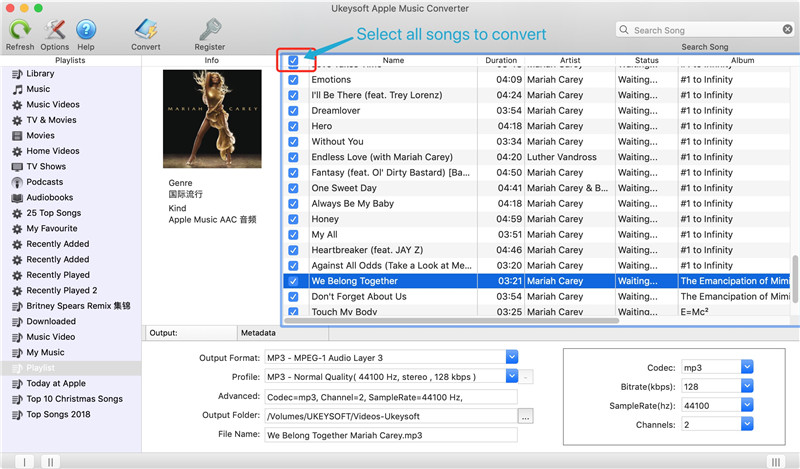
* How to transfer music from iTunes to Android
Each brand of mobile phone has its own data transfer tool for new mobile phone users to switch data to the new phone, such as Samsung Smart Switch, Huawei Phone Clone, Google Pixel’s Quick Switch Adapter, LG Mobile Switch, Apple iTunes & iCloud(Data Backup & Resotre), Sony Xperia Transfer Mobile App, Motorola Migrate, HTC Transfer, ect. When you have bought an new Samsung Galaxy Fold, Galaxy S10/S9/S8(Plus)or Galaxy Note 9/Note 10, you many want to migrate all data from old phone to Samsung Galaxy phone, this article will teach you how to use Free Smart Switch app to transfer data including contacts, messages, photos, videos, music, calendar events, apps and even the device settings from Android phone to your new Galaxy Note 10/Note 10+/Note 10 5G/Note 10+ 5G.
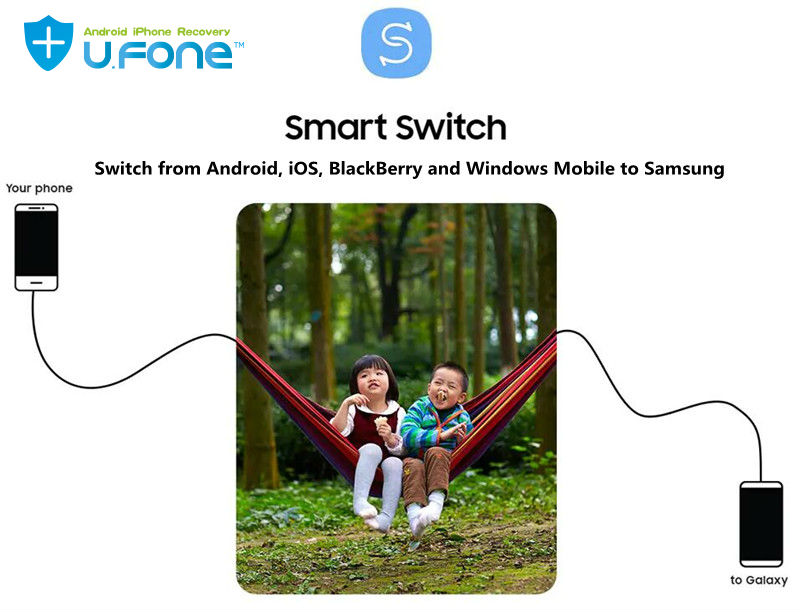
Smart Switch: Transfer Data to Samsung Galaxy
Smart Switch is developed by Samsung company to transfer data from your old phone to your new Samsung Galaxy phone, there are three connecting method to transfer data to new Galaxy phone by Smart Switch:
– Transfer data directly from your old phone wirelessly.
– Transfer data directly from your old phone via USB cable.
– Transfer data from a PC or Mac to your new Galaxy phone.
So, user can choose the method you feel most comfortable with, then using Smart Switch to move the data from an existing mobile phone to another Samsung Galaxy phone, Samsung Smart Switch is a freely available app that you can download on your old Android/iOS devices and Samsung Galaxy phone, please free download the Smart Switch on your both mobile phones, then follow the detail guide to transfer data like photos, message, contacts, etc. from Android to Galaxy S9 via wirelessly connection. Let’s take transfer Everything from Galaxy S7 to Galaxy S9 by using Samsung Smart Switch as example.
Steps to Transfer Data from Galaxy S7 to Galaxy S9 using Smart Switch
This guide show you how to use Smart Switch to move data from Samsung to Samsung, you can also follow the same steps to transfer data to Samsung phone from Apple iPhone/iPad/iPod, HTC, LG, Sony, Google Pixel, HUAWEI, Motorola, ZTE, Xiaomi, ZTE and more smartphones and tablets.
Step 1. Download and Launch Smart Switch app
First of all, please download the Smart Switch app on both the devices and launch it. Grant it all the needed permissions and choose the mode of transfer.
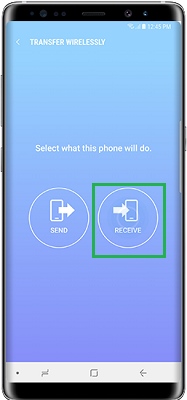
Step 2. Set Galaxy S9 as Target Device
TO move data to your new Galaxy S9, please mark the Samsung Galaxy S9 as a receiver(target device).
Step 3. Connect Both Phones and Set Galaxy S7 as Source Device
Mark your Galaxy S7 as a sender and connect the Galaxy S7 and Galaxy S9 by simply tapping on the “Connect” button via wirelessly.
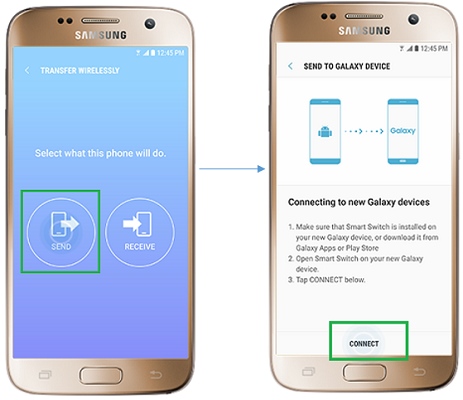
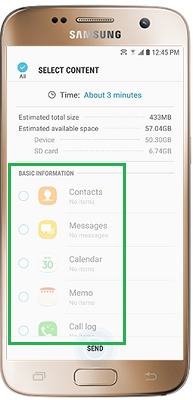
To make sure both Galaxy S7 and S9 connected via the same wirelessly, a one-time generated pin needs to be matched. After when a secure connection is established, you can select the contents you want to move, including Contacts, Messaegs, Calendar, Memo, Call Log, ect.
Step 4. Start to Transfer Data from Galaxy S7 to Galaxy S9
After click “Send” on your old Galaxy S7, your S9 will appear a “Receive” button, please tapping on the “Receive” button to receive data from the old Galaxy S7.
Please waiting during the data transferring process from old Galaxy S7 to new Galaxy S9. Once it is done, the interface will let you know all selected file types moved to the new S9. After moving the select contents to from old Android phone to new Galaxy phone, you can close the Smart Switch app and use your Galaxy S9 with all the newly transferred data.
Smart Switch Disadvantage:
Samsung Smart Switch can only transfer data from other devices to a Samsung device. Exclusively made for Samsung devices.Cross-platform transfer is not supported, for example, Samsung Smart Switch can not transfer contents between an Android and iOS, Android and Android, iOS and Android, and so on. Using the Smart Switch to transfer data to Samsung phone, the process is a bit complicated and slowly, it can’t transfer app data(for example WhatsApp messages from iPhone to Samsung), but can transfer major data files like photos, videos, contacts, etc. In additional, Smart Switch’s limited compatibility, it as different Smart Switch versions for different phone OS versions, so it doesn’t support different of devices running on different platforms. In order to transfer data between iPhone, Android, Windows Phone and Symbian Nokia phone without any loss, we will recommend you an more powerful Phone to Phone Transfer tool.
Phone Switch: Copy One Phone to Another, Easy and Fast
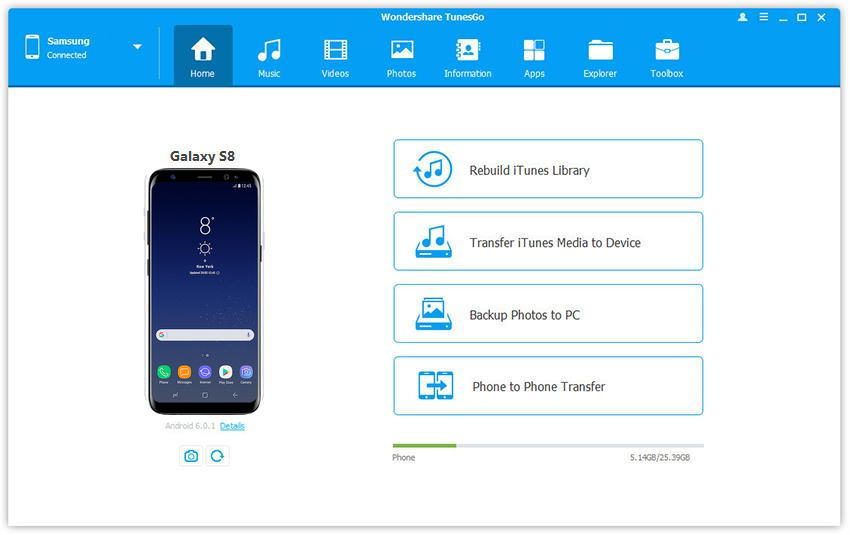
Phone Transfer and Phone Switch can help you transfer your photos, videos, music, contacts, calendar, text messages, call logs and all the other important files between devices directly, such as Android to Android, Android to iOS, iOS to Android, iOS to iOS, and restore backup from Blackberry 7/10, iTunes, iCloud, OneDrive, Kies to your Android and iPhone/iPad/iPod devices. What’s more, for the rooted Android devices and jailbroken iOS devices, transfer of App data is also supported. Both Phone Transfer and Phone Switch program works perfectly for more than 6000 smartphones and tablets, including Apple, Samsung, HUAWEI, OPPO, Sony, HTC, Google Pixel, Nexus, LG, Motorola, ZTE, Panasonic, OnePlus, Xiaomi, Nokia, Oppo, Vivo, Lenovo and more. No matter your device is provided by AT&T, Verizon, Sprint or T-Mobile. It compatible with Android 8.0 and the latest iOS 12.
Related guide: Phone Transfer – transfer files from old Samsung to Galaxy S9
Free download Phone Toolkit- Phone Switch for Windows and Mac and try to move data between two devices directly.


Below follow the complete tutorial to transfer data from and iPhone to Samsung Galaxy S9 by using Phone Switch software, you can also follow the same steps to transfer data from Android to Android Safe, Easy and Fast.
Steps to Transfer Data from iPhone to Galaxy S9 using Phone Switch
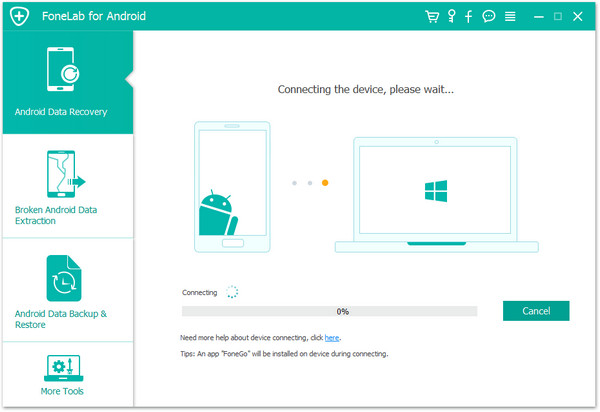
Step 1. Connect iPhone and Galaxy S9 To Computer
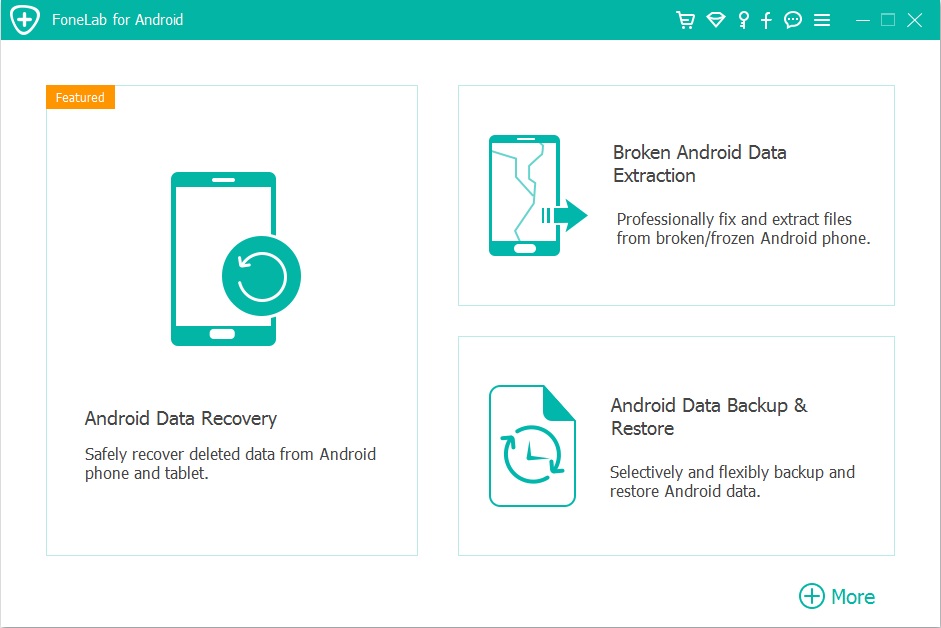
Download and launch Android Switch on your computer and click on “Switch” among the available option.

Now connect both of your devices to your computer with the help of USB cable. Here we have taken iPhone and Android Samsung phone as an example.
The data will get transferred from the Source Device to Destination Device.
Note: If source and destination device are in wrong place then you can use the “Flip” button to exchange their position.
Step 2. Select The File To Transfer
Choose the files types that you want to transfer, including contacts, text messages, photos, videos, music and many other contents.
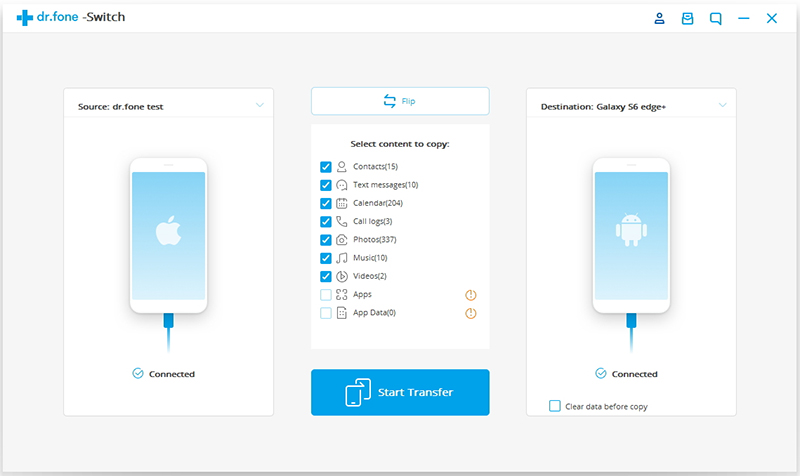
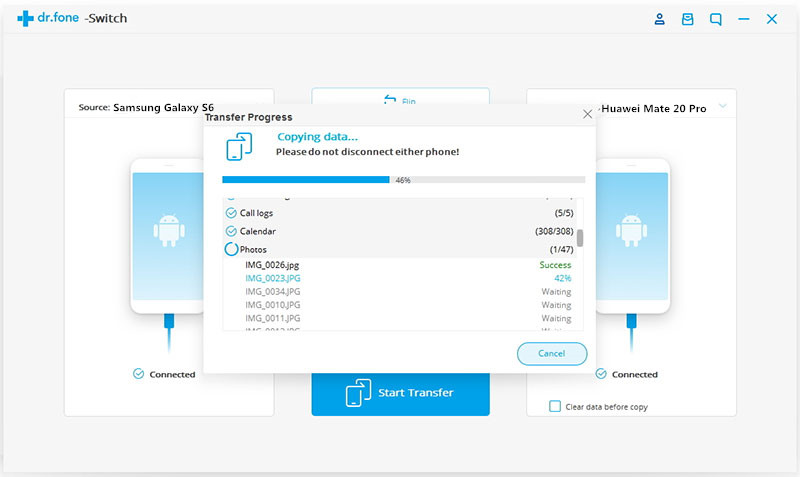
Step 3. Start to Transfer iPhone Data to Samsung Galaxy S9
After selecting the file types, just click on “Start Transfer” to start transferring contents from your old iPhone to new Samsung Galaxy S9 smart phone directly.
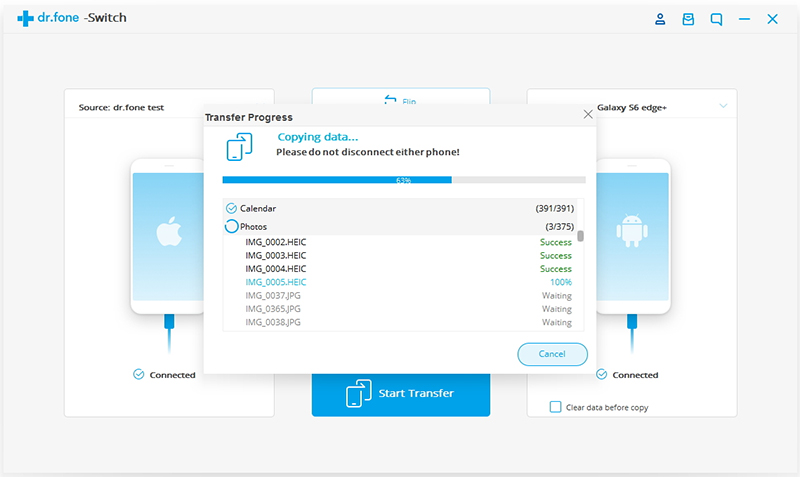
Note: Do not disconnect the devices until and unless the transfer process gets complete.
You may also check mark the box “Clear data before copy”, if you want to delete data on the destination phone before transferring the files to the target phone.
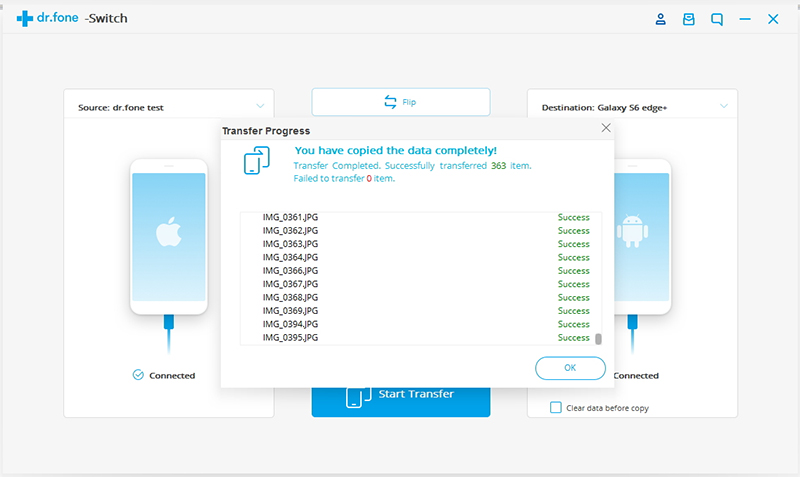
In just few minutes, all the selected files will get transferred to Samsung Galaxy S9 successfully.
Wrap Up: So that was the two methods to transfer data to Samsung Galaxy smartphone. It totally depends upon you which method you want to go for. Samsung
Smart Switch is free but the process is a bit complicated, it can only transfer photos, videos, contacts from other devices to a Samsung device. If you looking for a safely, easily and quickly method to transfer data between different phones, we recommend you use Phone Transfer or Phone Switch, both provides a 1-click simple solution to transfer/copy/switch/migrate data from one phone to another directly. No technical knowledge is needed to copy your phone’s data.