“I just switch from my old Android phone which has been used for 3 years to an Huawei Mate RS phone, which also named Porsche Design. Is there any way to import the data from my Android to the new Huawei phone with one click?”
Upgrading to a new Huawei from an old Android phone is an inevitable calamity that always results in the loss of contacts or other data stored on the old phone. To avoid data loss, there will be a necessity to transfer data from your old device to the new one, especially contacts, photos, messages. Normally, one of the most common transferring methods is to backup your files with a backup application, such as SIM card or cloud and copy the backed up data to your new phone. That sounds so complicated. Is there an easier way to complete the transfer with one click?
You will be sure of smooth and easy transfer of any kind of mobile data or file from your old Android to Huawei when you get Phone Transfer running on your computer. It will offer you simple steps for file transfer to switch files from Android to Huawei Mate RS. In fact this program is a must have file manager for all those that are looking for the best way to manage their mobile data and transfer contacts, photos, text messages, videos, call logs, music, calendar, apps. It compatible with all Android models, including Huawei Mate RS, Mate 10/9, P10/P9; Samsung, HTC, Lenovo, Sony, OPPO, OnePlus, ZTE, Xiaomi, Google Pixel; and iPhone or Nokia phone.


How to Import Data from Android to Huawei Mate RS
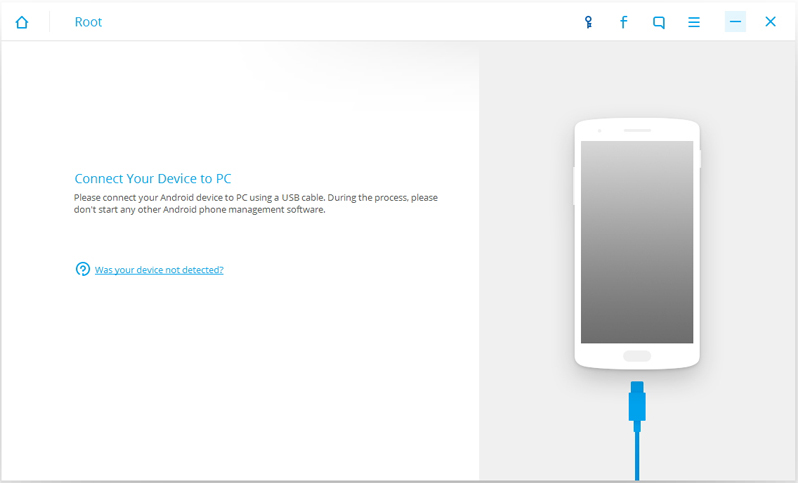
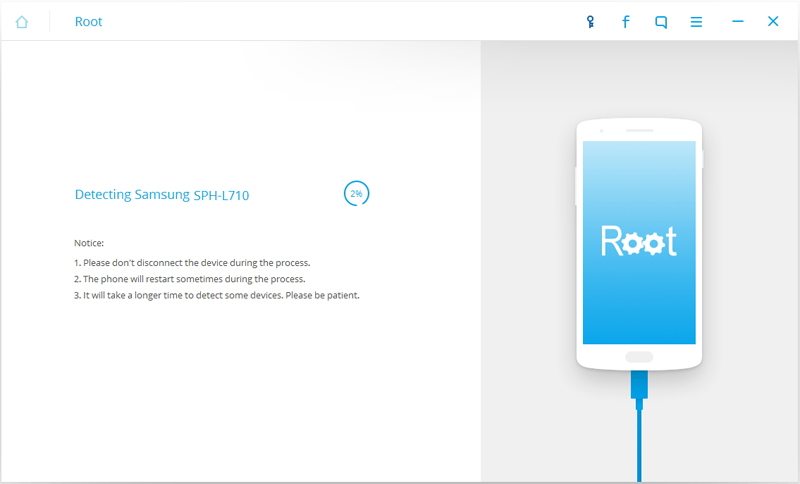
Step 1. Connect Devices and Run Program
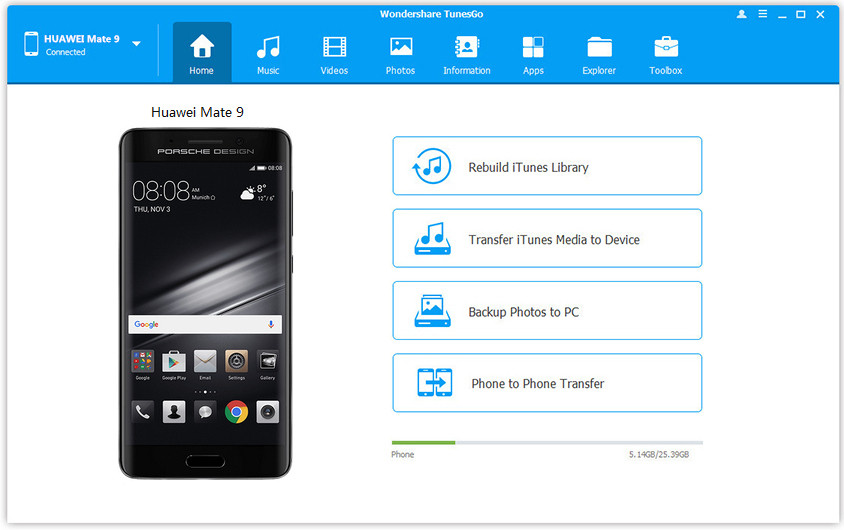
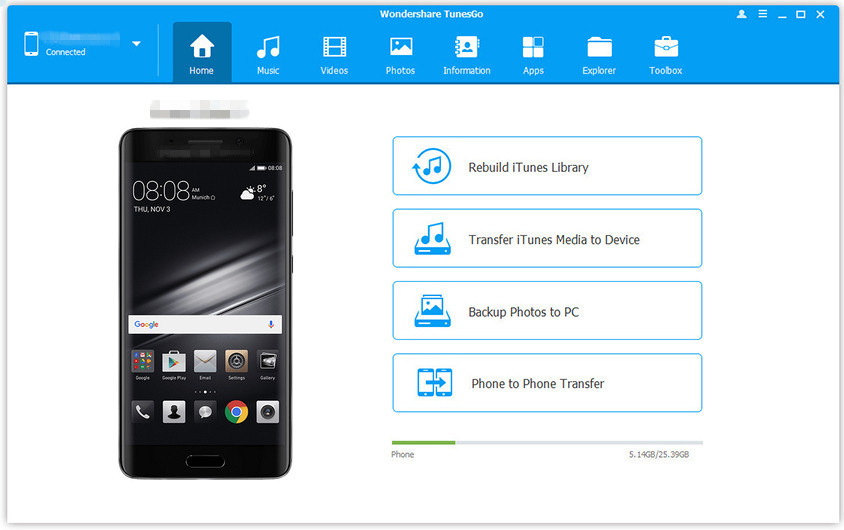
In the first step, connect Android and Huawei Mate RS to computer using USB cable, and run Phone Transfer on computer. On the homepage of program, click ” Phone to Phone Transfer” option.

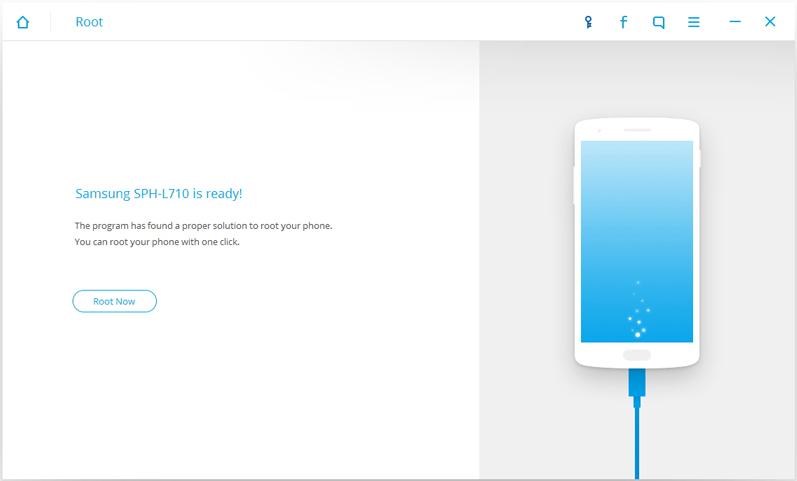
Step 2. Select Files to Transfer
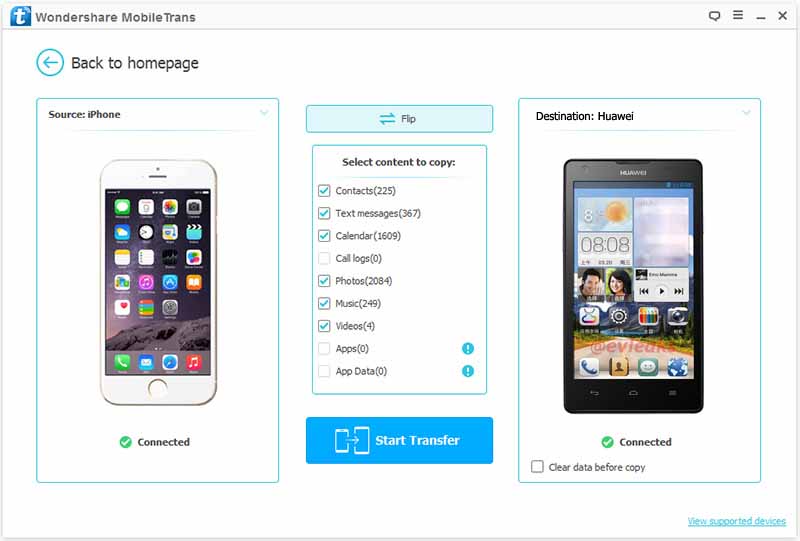
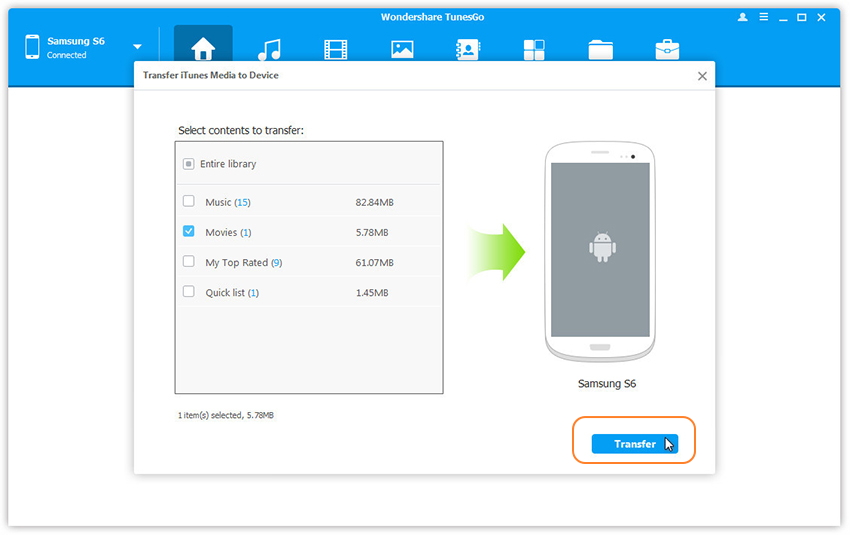
You will see both your Android and Huawei phone and files available to transfer. Android as the source device should be on the left, Huawei phone as the target device should be on the right. You are allow to change source and target phone by clicking “Flip“. Select files to transfer from Android to Huawei, contacts, SMS, photos, videos, music,call logs, calendar, apps are available.
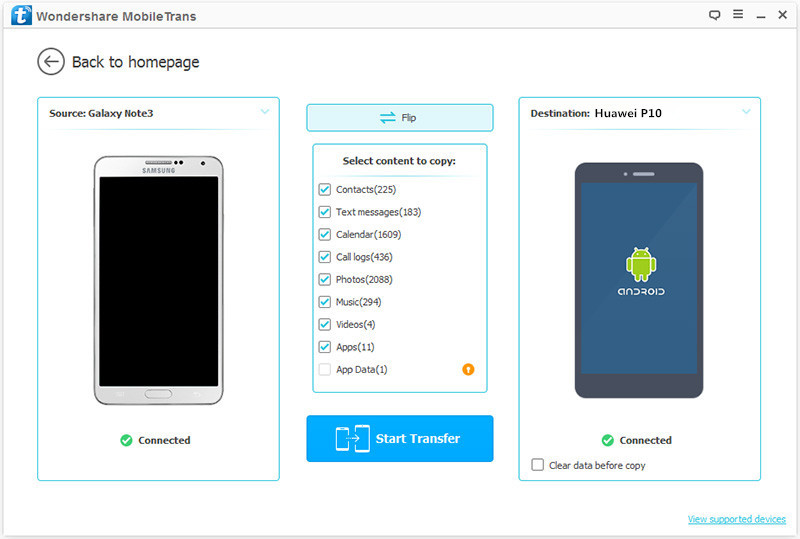
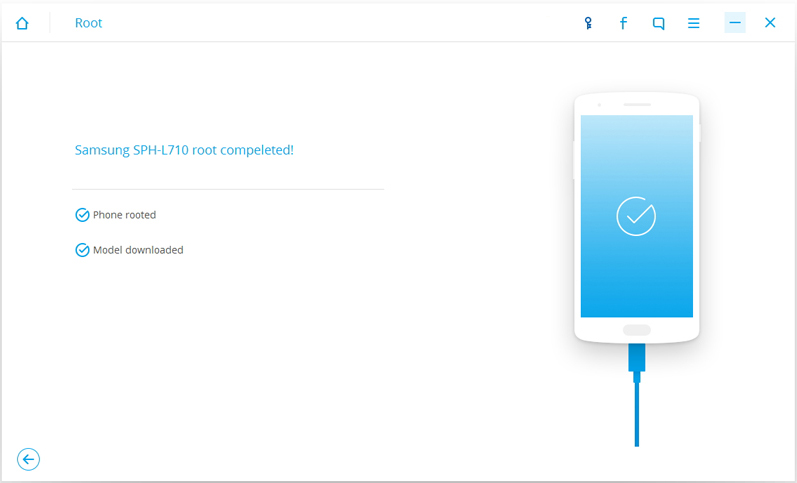
Step 3. Start Transfer Job
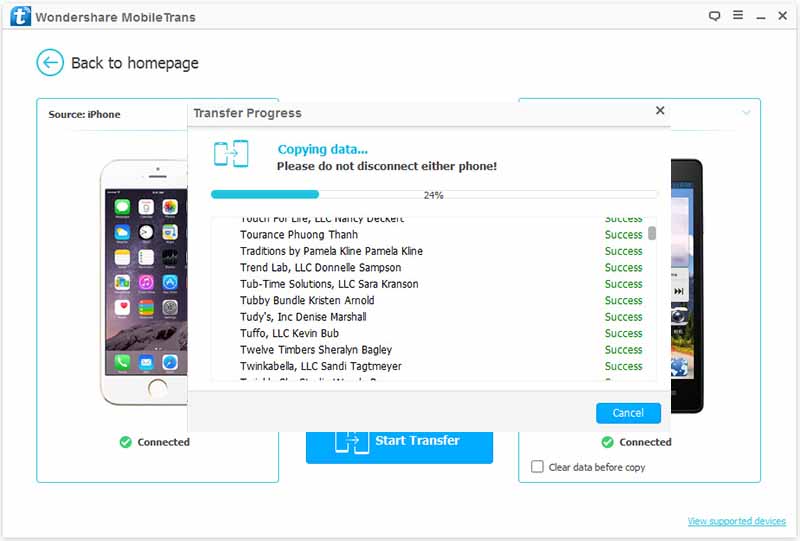
Simply click “Start Transfer” to begin transferring selected files from Android to Huawei Mate RS.
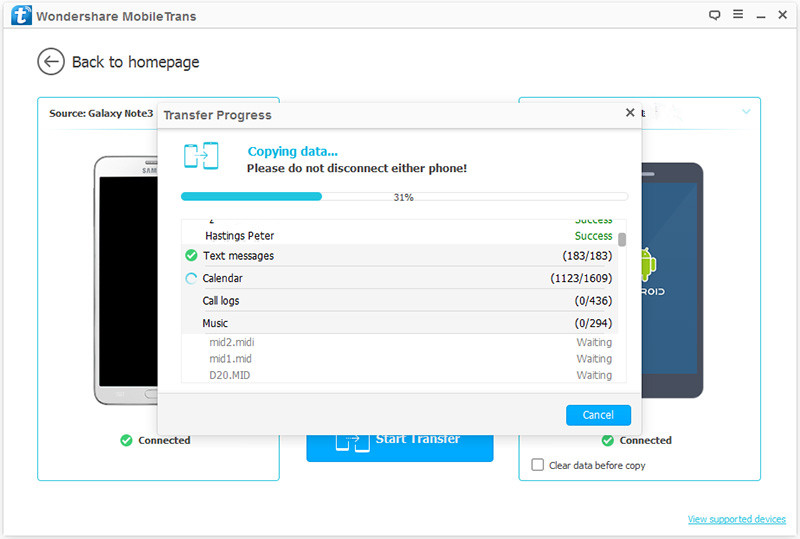
The transferring process will take you a little while, depending on the size of the transferred files. Please keep the connection both of Android/Huawei and the computer while transferring. Click “OK” when the process ends.
Related Guides:
How to Transfer iPhone Data to Huawei Mate RS
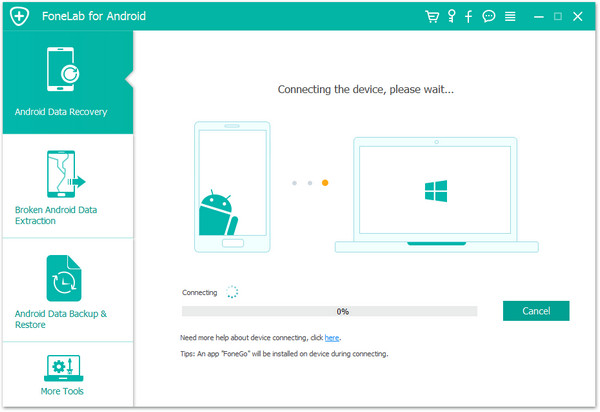
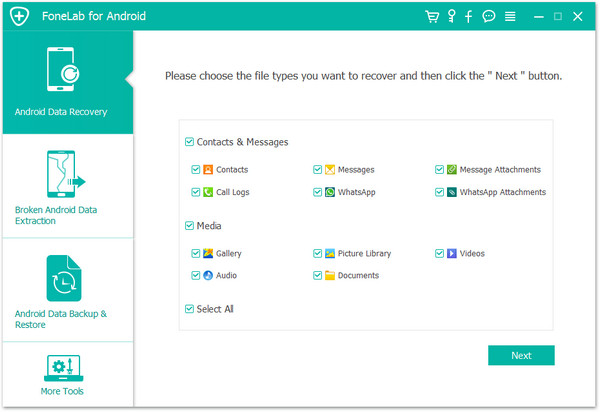
How to Recover Deleted Data from Huawei Mate RS
How to iTunes Music/Videos Media Files to Huawei Mate RS
How to Backup and Restore Huawei Phone