“There is something wrong with my Samsung Galaxy phone, and I can’t touch my phone screen to access the phone settings and enable the USB debugging.What’s worst,I haven’t backup my contacts lately. Now I wonder is it possible to recover contacts from the broken device without USB debugging?”—-Amy
There is no doubt that the USB Debugging is critical to access and manage our Android data, most people will use the USB Debugging to recover data from Samsung Galaxy phone.However, the situation is a bit complicated when the USB debugging mode was turned off.For example,if your phone gets locked due to forgotten screen lock PIN, password or pattern lock or what’s worse, phone screen gets broken and your USB debugging off permanently.In this circumstance,you can not recover your contacts, photos, music from the broken phone with USB debugging.No matter how careful you are,the USB Debugging doesn’t work all the time when the device is broken.In this urgent time, you would better find a reliable way to extract your precious data without USB Debugging.Fortunately,you don’t have to worry any more, here we will provide the best program to help you recover all data include contacts from broken Samsung phone without USB Debugging.
To solve this problem,the Android ToolKit – Broken Android Data Extraction we recommend is the ideal recovery program for you to recover contacts from broken Samsung Galaxy without USB Debugging.Besides contacts,you can retrieve messages, photos, videos, notes, WhatsApp data, call logs and more types of data from broken device via this program.With the help of this program, you can easily get broken Samsung to normal and recover data from broken Samsung phone for any broken cases, such as frozen, crashed, black-screen, virus-attack, screen-locked. Additionally, Android ToolKit provides you Android Data Recovery function, help to restore deleted data from Samsung Galaxy even without backup. It supports almost all Android devices,include Galaxy S4/S5/S6, Samsung Galaxy Note 3/4/5, Huawei, Nokia, HTC, LG, Sony, Motorola and so on.
Now,you can free download the trial version of this Broken Android Data Extraction program on Mac or Windows version,then follow the tutorial below to recover contacts from broken Samsung phone.


Step by Step to Recover Contacts without USB Debugging
Step 1. Run Program and Connect Your Broken Samsung Galaxy to PC
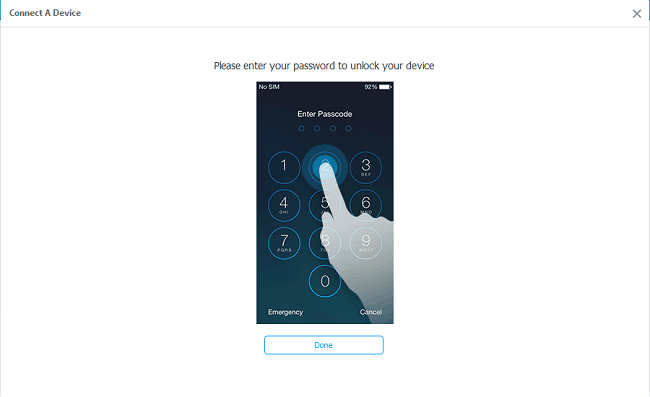
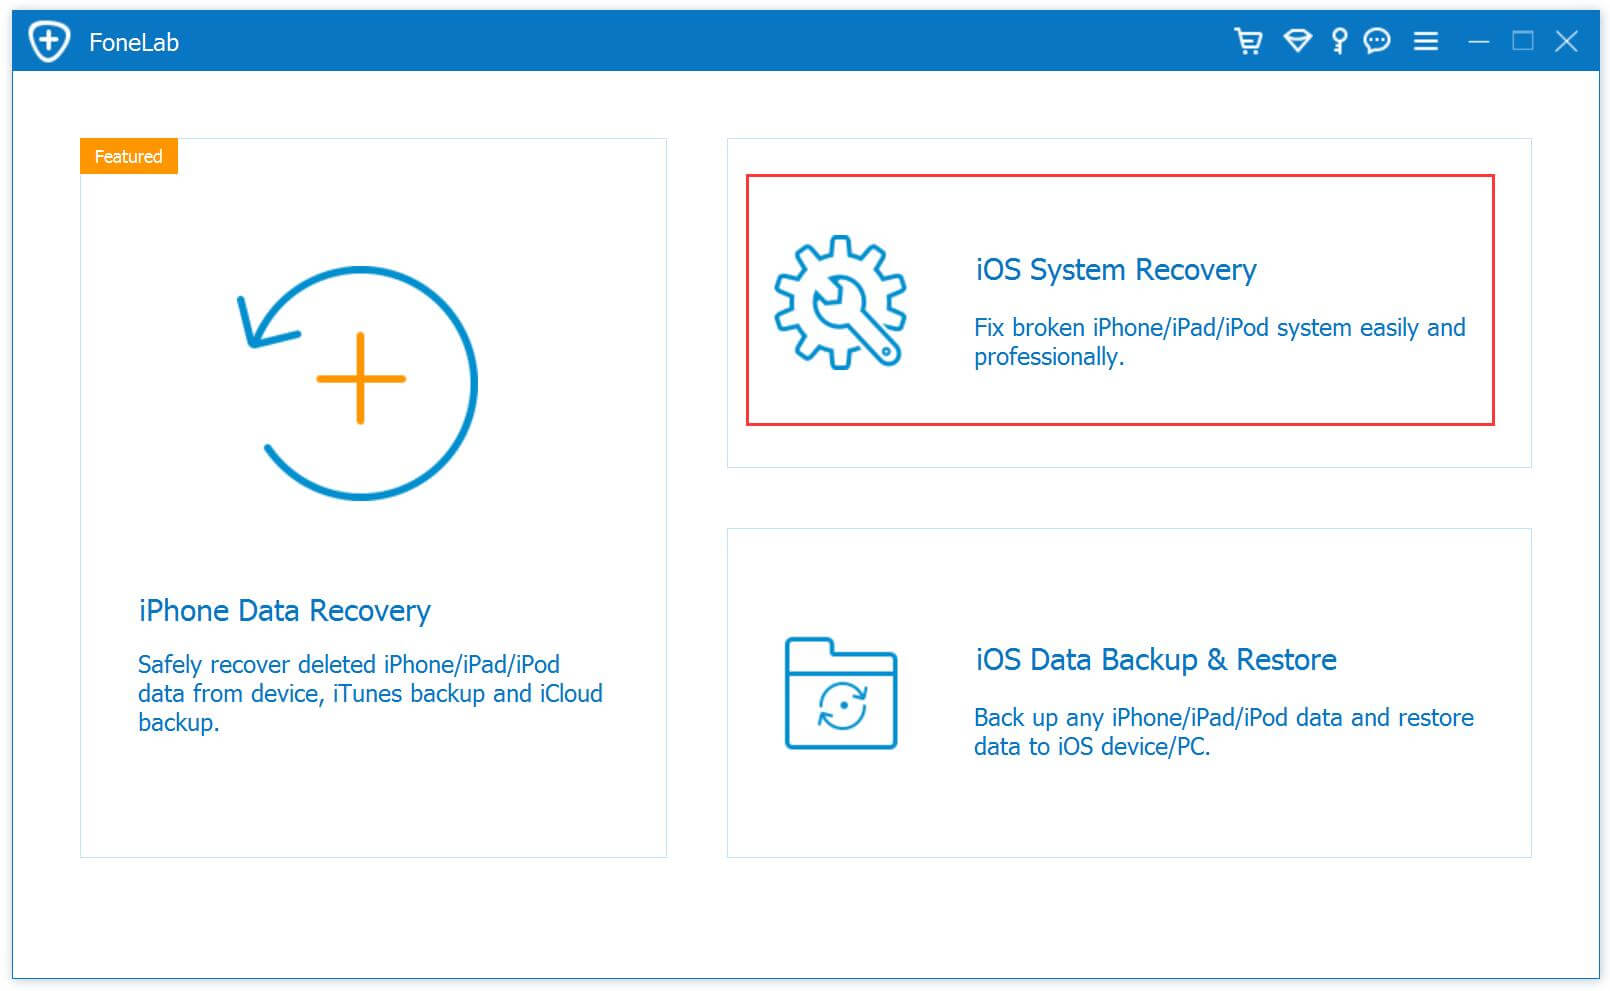
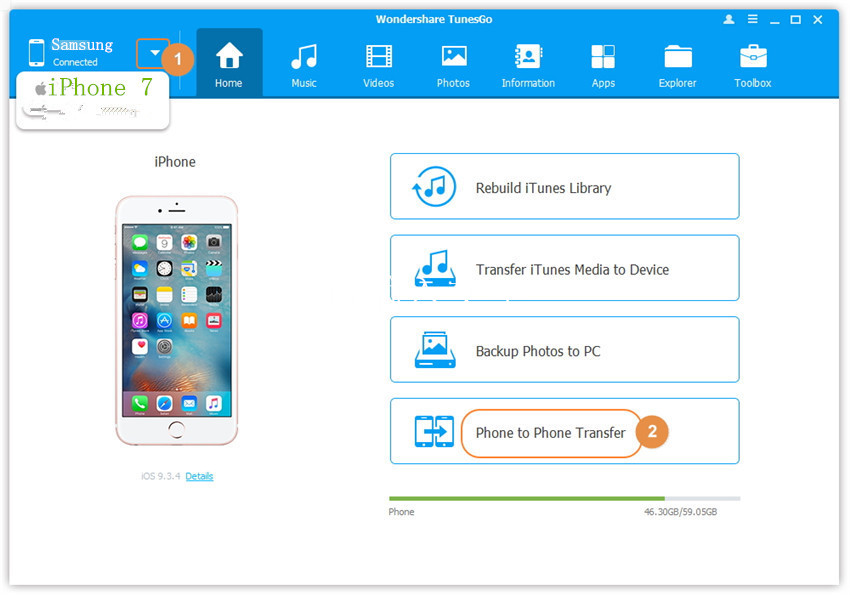
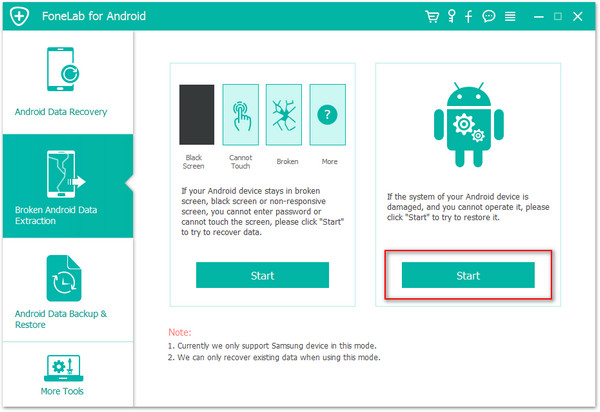
First of all,you should download the Android Data Recovery on your computer and run it.Then you can see a new pop up window as the picture below.Please select the“Broken Android Phone Data Extraction“option on the left side and then connect the broken Samsung to computer.

Now you can see two options on the main screen.You can click the left “Start” button for recovering contacts from broken screen, black screen or can’t touch Samsung Galaxy phone. Otherwise, if the system of your Samsung device is damaged, and you can’t operate it, just click the right “Start” button to move on.
Step 2. Select the Contacts File to Scan
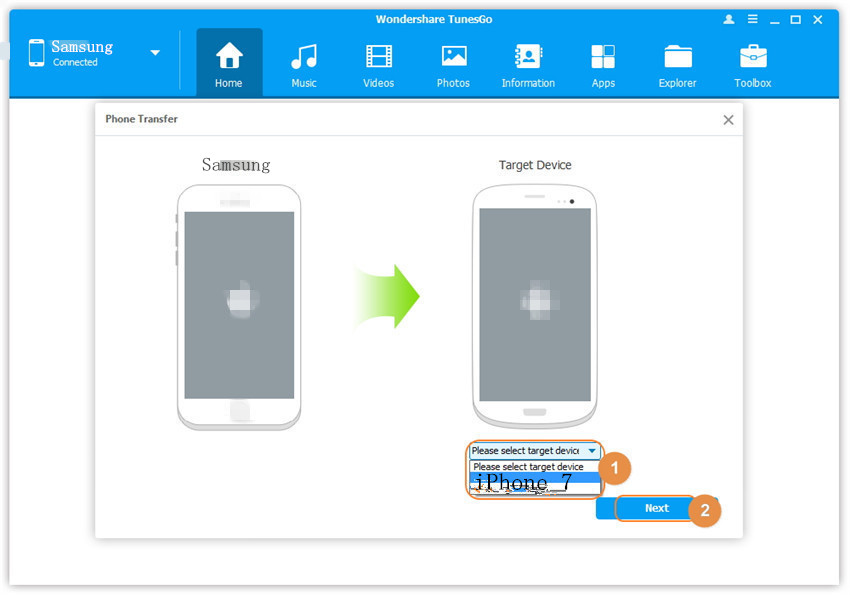
In this step,you should select the types of files to scan, for example Contacts, Call History, Gallery, Messaging, etc,.For contacts recovery,you should tap the “Contacts” option. If you want to scan all data from broken Samsung,just simply check “Select all”.

Step 3. Select the Broken Situation of Samsung
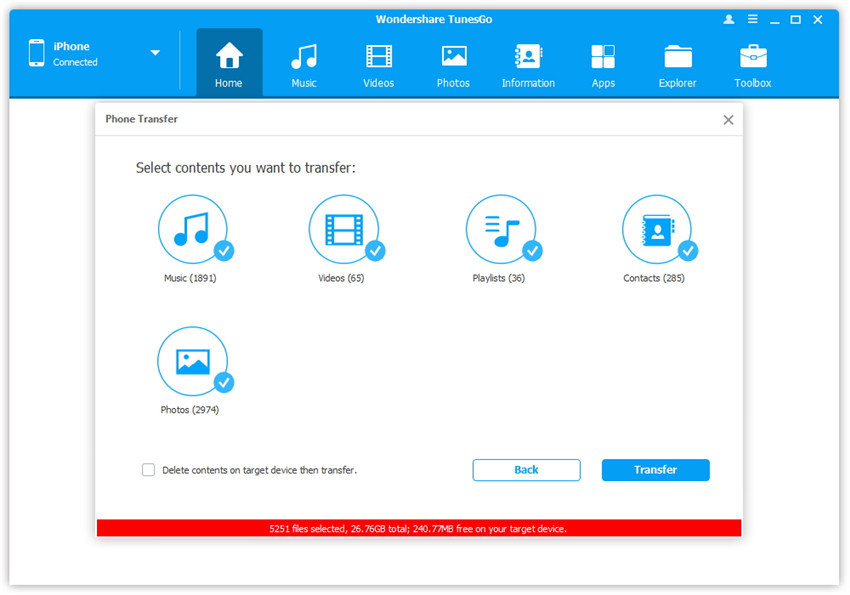
Now you should select the abnormal state of your Samsung. Here “Stuck in the Startup screen”, “Stuck in the Download mode”, “Stuck in the FoneGo interface”, “Black screen” and “Others” are available.

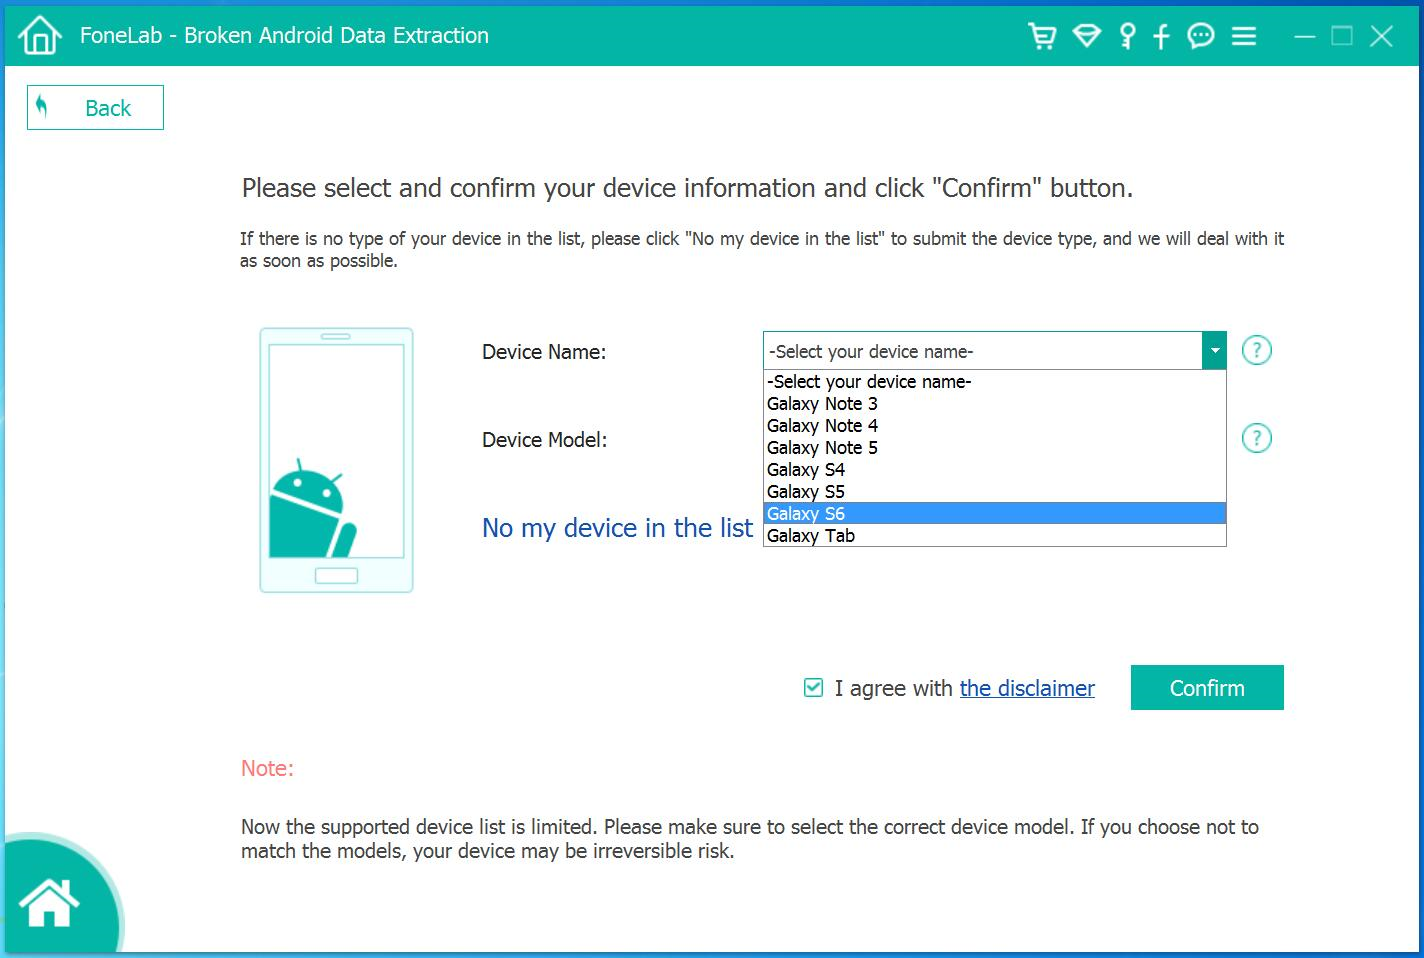
Step 4. Select Samsung Device Model
Then you should choose the name and model of your broken Samsung Galaxy from the list. Make sure that you choose the correct information of your Samsung phone. Then click “Confirm” to move on.
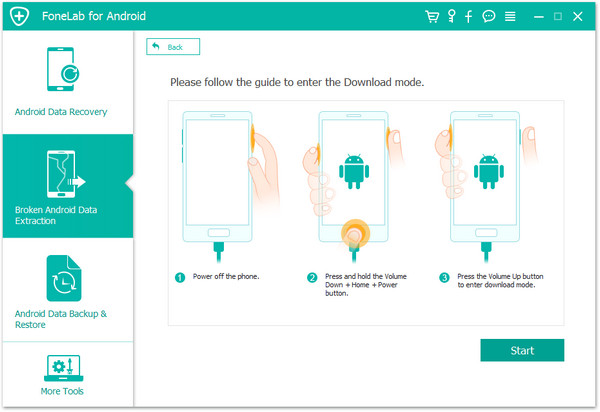
Step 5. Enter Samsung into the Download Mode
Please follow the on-screen guide as the below picture shows to enter Samsung into the Download Mode.
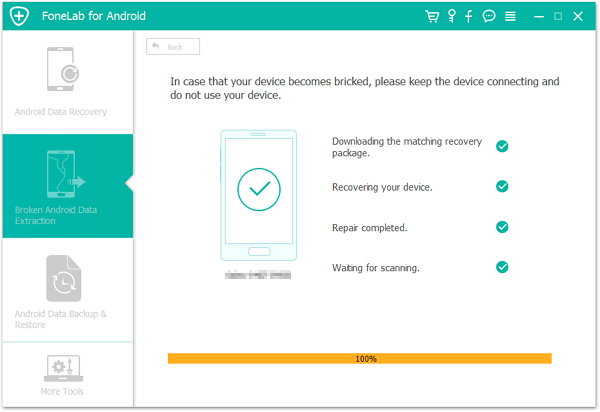
Step 6. Restore Samsung System to Normal
The program will start to download the matching recovery package to repair your broken Samsung system. Please wait patiently. Once it is done, you could access and recover your Samsung contacts.
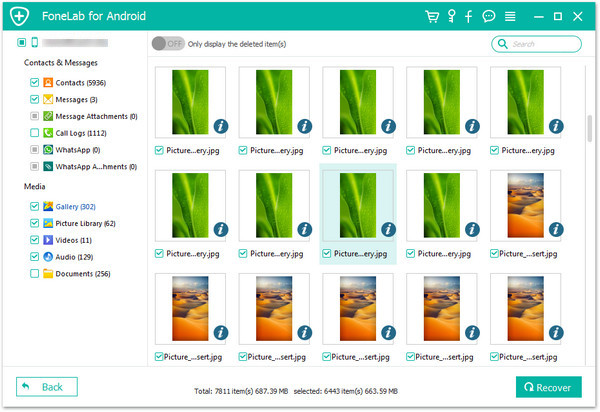
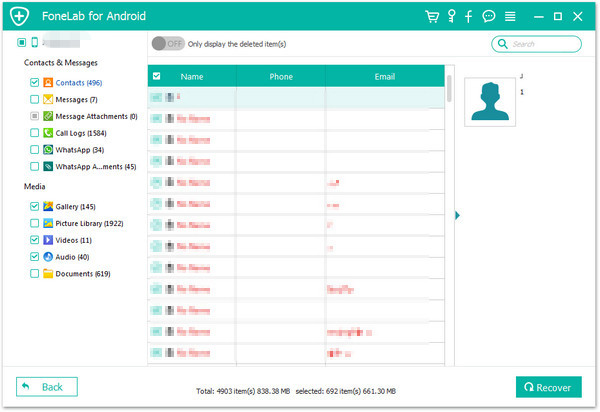
Step 7.Preview and Recover Contacts from Samsung
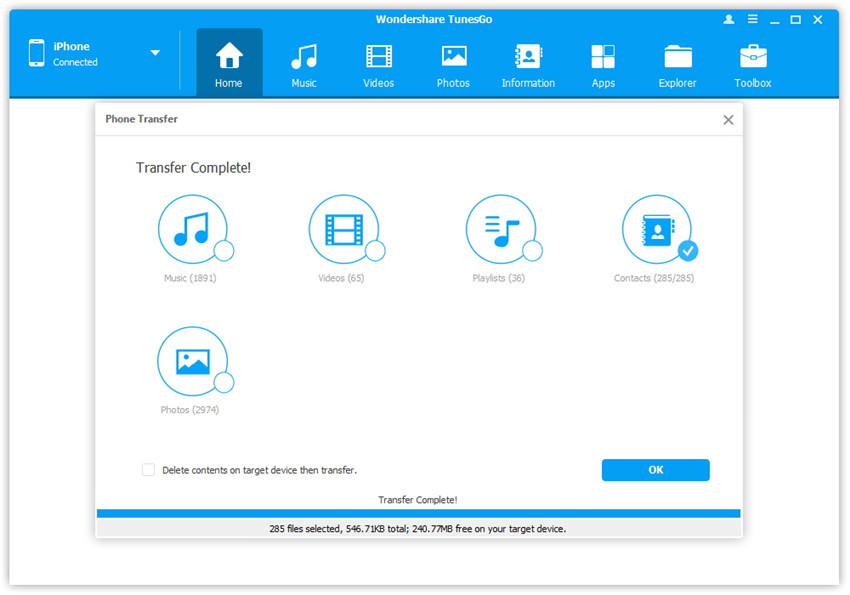
All the files on the device will be displayed on the main screen(including the existent data and deleted data). Select the ones you would like to recover under “Contacts” file and then click on “Recover” button to finish the recovery.
Related Articles:
How to Recover Data from Broken Samsung Galaxy
How to Recover Data from Samsung with Broken Screen
How to Recover Data from Black Screen Samsung Galaxy
How to Recover Photos from Broken Samsung Galaxy Phone