Summary:Many iPhone users are looking for an effective way to restore iPhone deleted photos without backup. Reading this article’s guide, you will be able to easily restore deleted iPhone data without backup, especially photos deleted from iPhone.
When you accidentally delete iPhone photos, you will be very depressed. If the deleted photos are not backed up, it will be more regretful and you want to restore it. If you are confused and don’t know how to do it, just focus on this page, we will help you restore deleted photos on iPhone. With the smart iPhone recovery software, you can easily restore the photos that you accidentally delete, including photos taken from apps. In order to recover deleted photos from iPhone without backup, this time we strongly recommend the use of the third party tool – iPhone Data Recovery.
Restore Deleted Photos from iPhone
iPhone Data Recovery is one of the professional recovery software to recover deleted photos from iPhone without backup, which is praised by all users. iPhone Data Recovery can quickly help you find deleted photos and other data, such as video, contacts, messages, notes, call logs, and so on. This powerful data recovery enable you to recover iPhone data after losing it due to system crash, artificial deletions, forgotten passwords, virus invasion, damage or stolen, factory reset, iOS update, device stuck and not response, jailbreak or ROM flash, etc,. It support any models of iOS devices, including iPhone, iPad and iPod. Below, I will give you a step-by-step introduction on how to perform iPhone data recovery without hassle.


How to Recover Deleted iPhone Photos without Backup
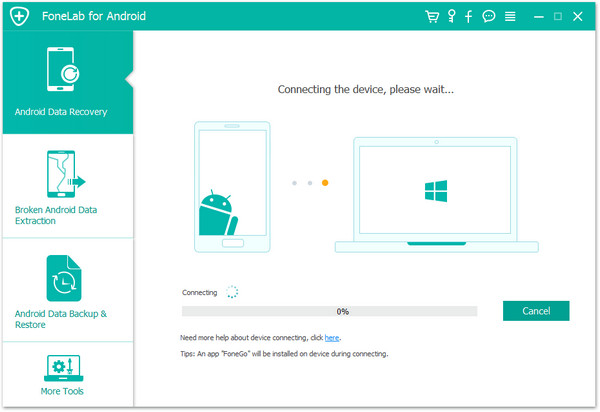
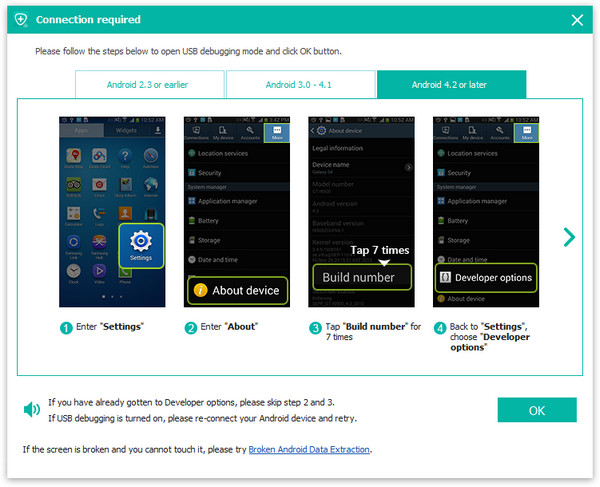
Step 1. Connect the iPhone to the Computer
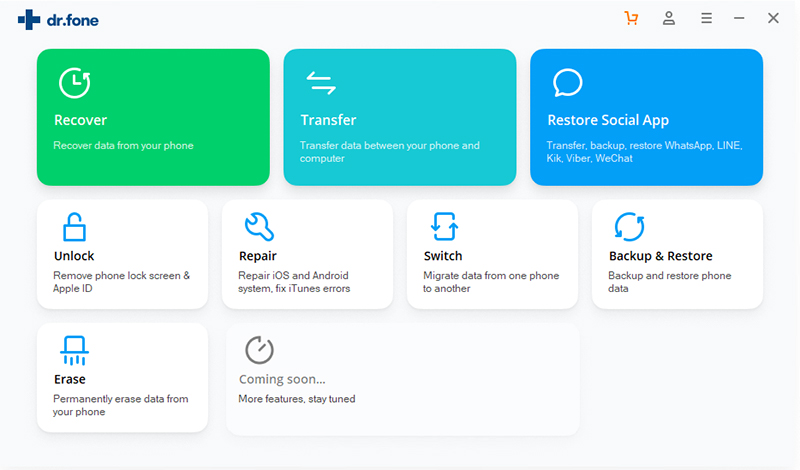
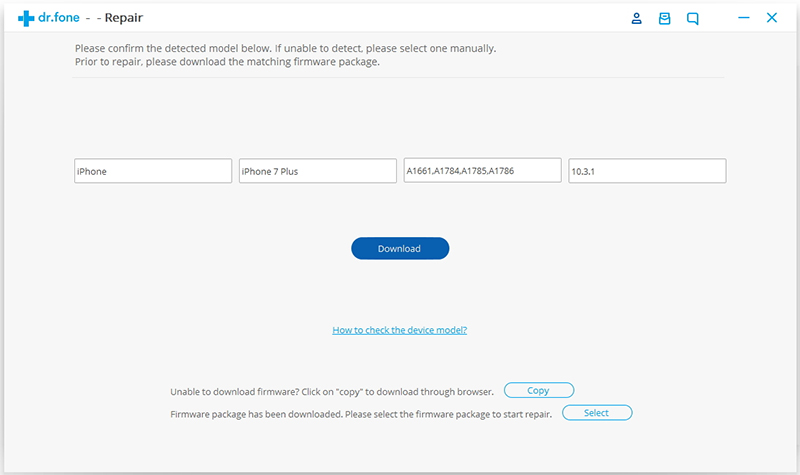
Connect the iPhone to your computer using a USB cable, and the computer will automatically detect your iPhone device, then start the iPhone Data Recovery on the computer. Open the program, the interface is as follows, click the “Recover” button,then select “Recover from iOS Device“, after that please click “Photos“(App Photos).

Step 2. Scan the Deleted Photos on your iPhone
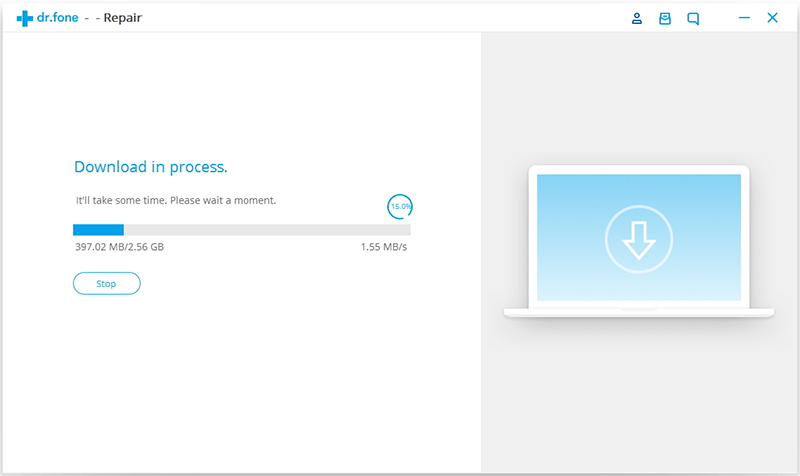
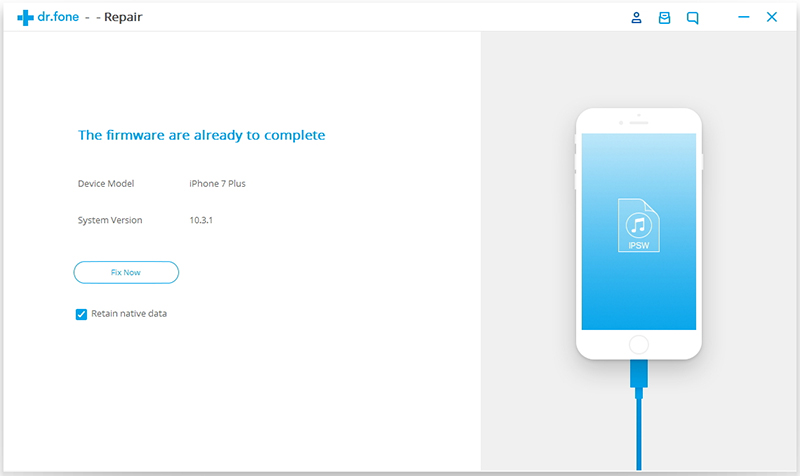
Click “Start Scan” to let the program scan your iPhone deleted or lost photos. When you start scanning, a progress bar will appear on the top of the interface. The speed of the progress bar depends on the number of iPhone photos you have.
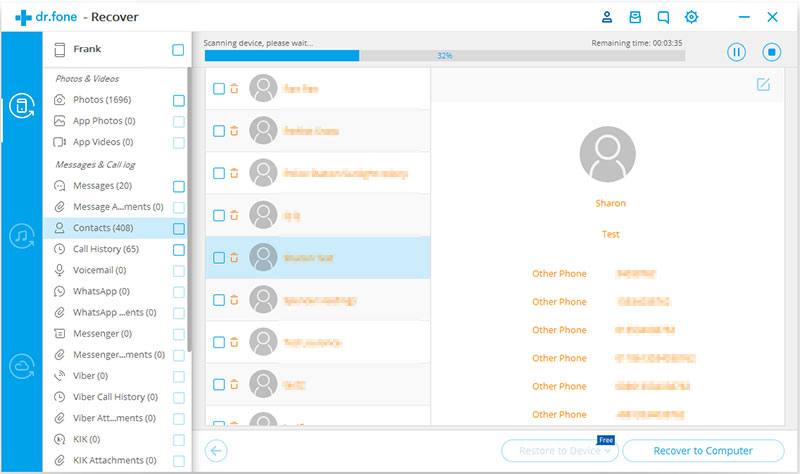
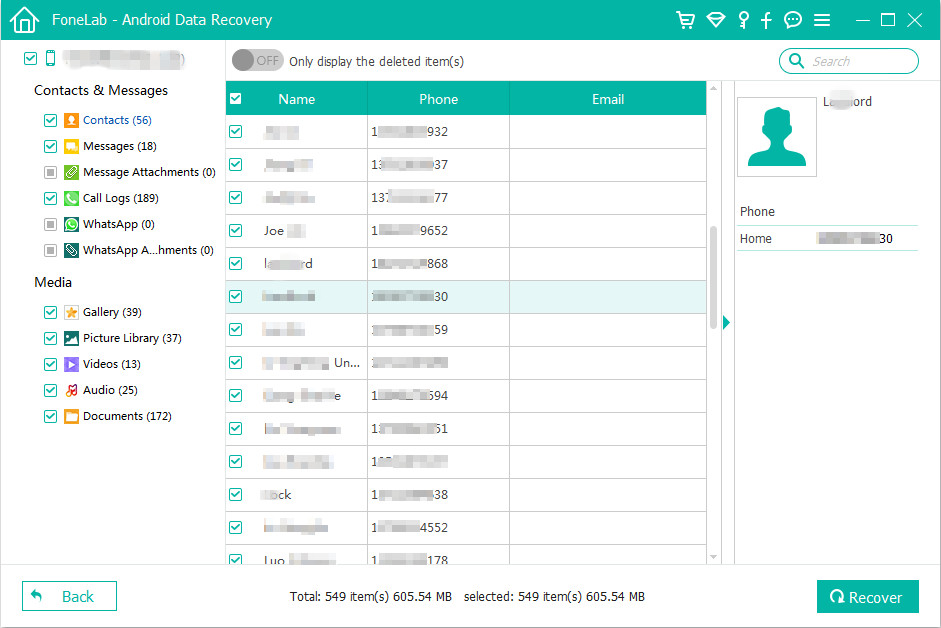
Step 3.Preview and Recover Scanned Photos on the Computer
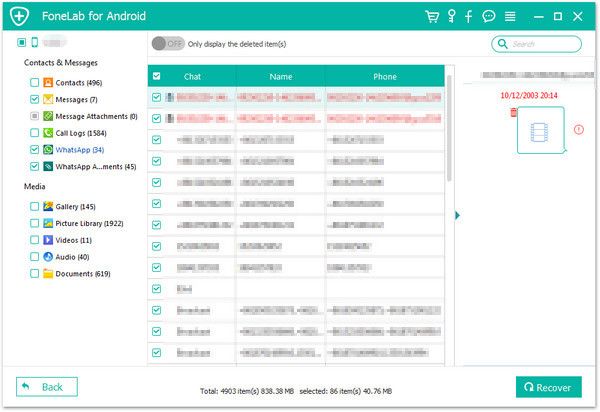
After the scan is completed, you will see the scan results. Click and select “Photos“(App Photos) to preview the deleted photos you have found. At this point, you can choose to restore some of the photos you want, or you can choose to restore all photos. Then click “Recover to Computer” to save the deleted photos to the computer.

Tips: As for message, contacts, or notes , when you click “Recover”, a pop-up will ask you to “Recover to Computer” or “Recover to Device“. If you want to put these messages back to your iOS device, click “Recover to Device“.
Related iOS Data Recovery Tutorials:
How to Recover Lost iPhone Data without Backup
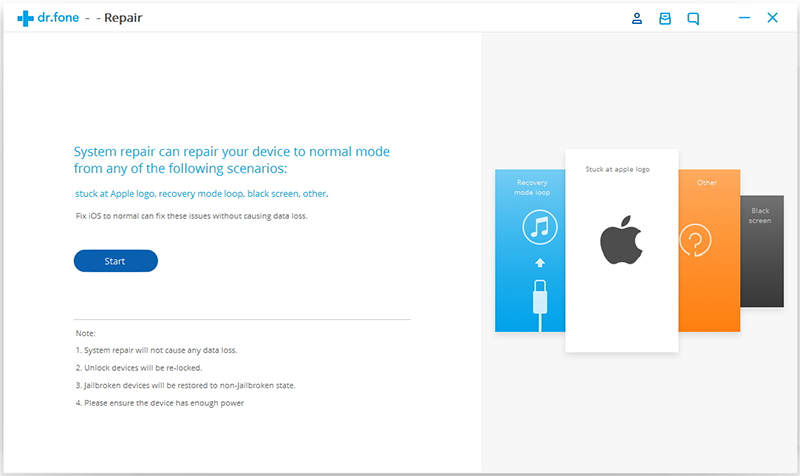
How to Restore iPhone System to Normal after iOS 12 Update
How to Download iOS 11.4 Update for iPhone and iPad
Download and Install iOS 12 on iPhone without Data Loss
How to Backup and Restore Data from iPhone
Best iPhone Manager: How to Transfer & Manage Files for iPhone