Text messages are an important part of personal data on our mobile phone and losing them would lead to serious data loss to your work or daily life. Text message may contain important address or work detail that you don’t want to lose. However, many unexpected accident can cause loss of the messages. Let see the most common causes that lead to lose SMS on our mobile device:
A.Dropping your Phone
We all know this one is the most common ways that lead to data loss almost everyone ever encounter. It is estimated that 30% of all broken phones happen because of simply dropping the phone.
B.Water Damaged
Water damaged is another common way that phones get destroyed. For example, your phone fall in the bath or toilet. Water is responsible for 18% of all broken phones.
C.Others
There are several other unusual ways to break your phone and it is possible to lead to data loss. They include things like sink-hole, your phone falling from roller coaster rides. Believe it or not, it happen a lot more often that you think.
Restore SMS from Broken Samsung Galaxy Note 5
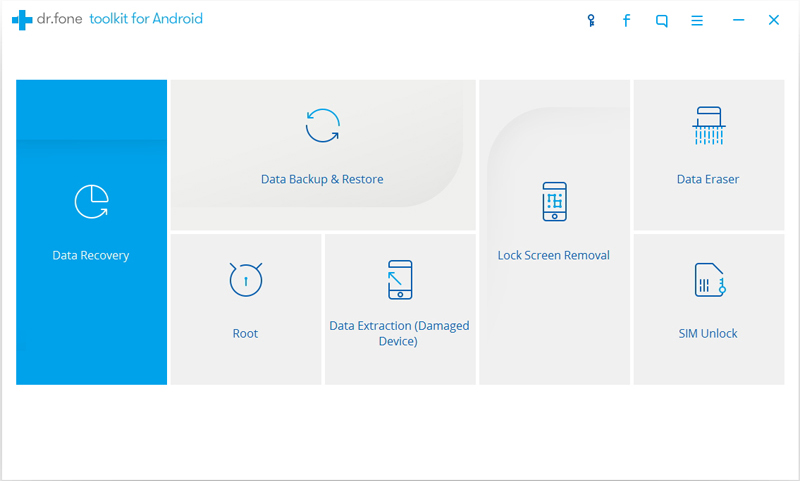
If one of this situations happen unfortunately, you get your phone broken, you are able to access the data from your broken device with the reliable solution. Broken Android Data Recovery is the perfect solution for recovering data for broken Android devices, helps to recover text messages from broken Samsung Galaxy Note 5. It will automatically scan for the data saved on device and show the recoverable data. You can recover data like photos, videos, contacts, text messages, apps, etc,. Let us look at its features:
-Highest retrieval rate in the industry.
-Recover photos, videos, contacts, messages, call logs, and more.
-Supports to any broken Android cases: broken screen Android, black screen Android, water-damaged Android or more.
-Compatible with Samsung Galaxy devices, including Galaxy S6/S5/S4, Note 5/4/3.


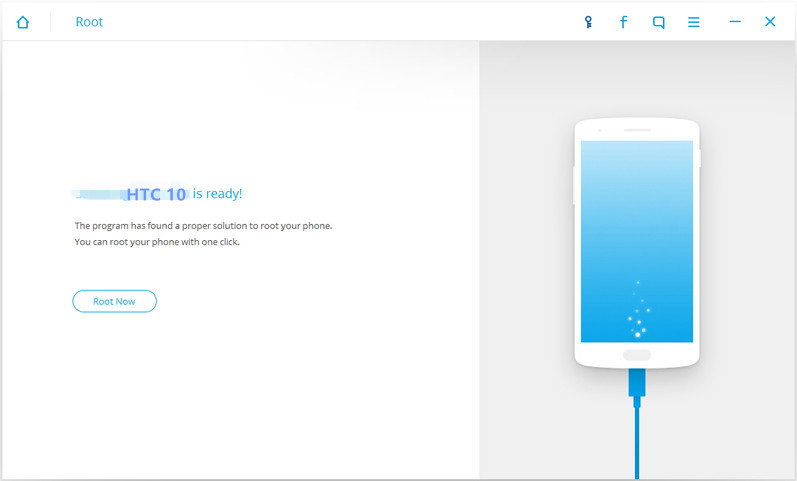
How to Extract Text Messages from Samsung Galaxy Note 5
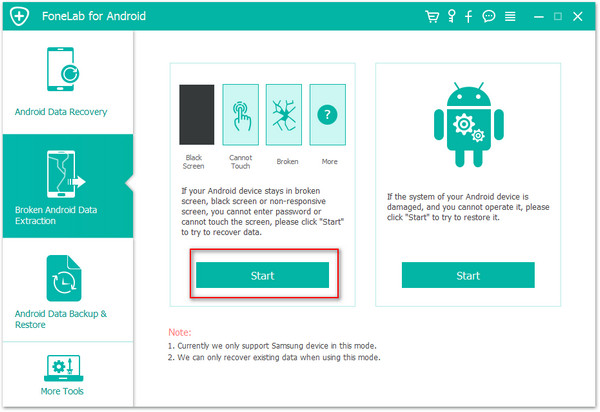
Step 1.Connect Samsung and Run Program
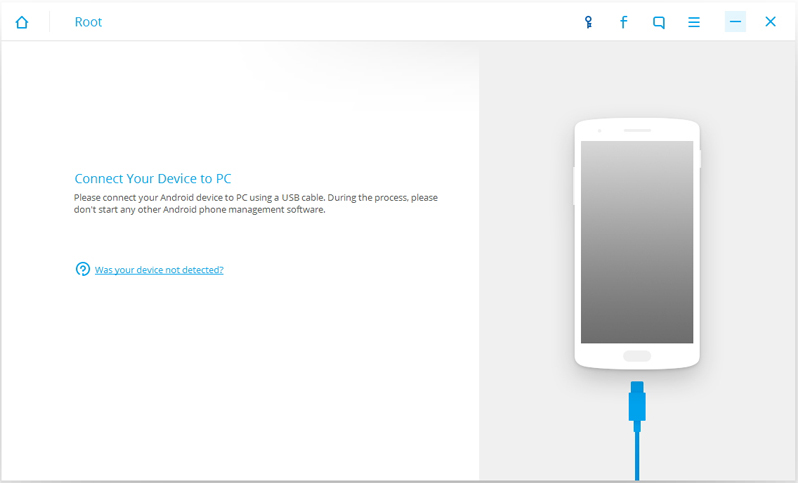
To begin with,please connect the your broken Samsung to the computer. Select “Start” under “Broken Android Phone Data Extraction“ in the home page of program.
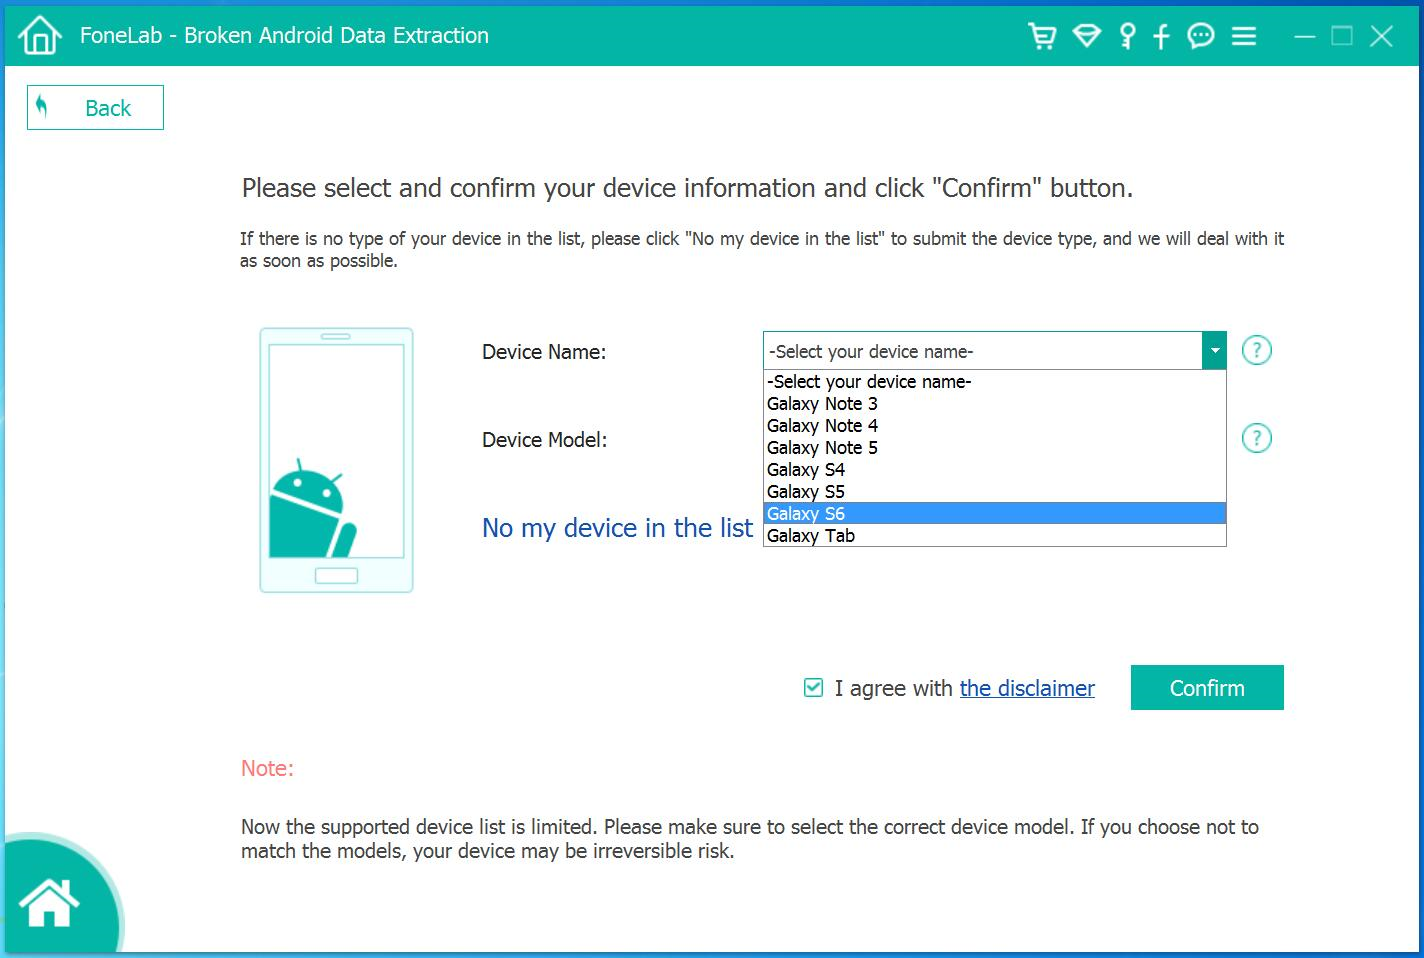
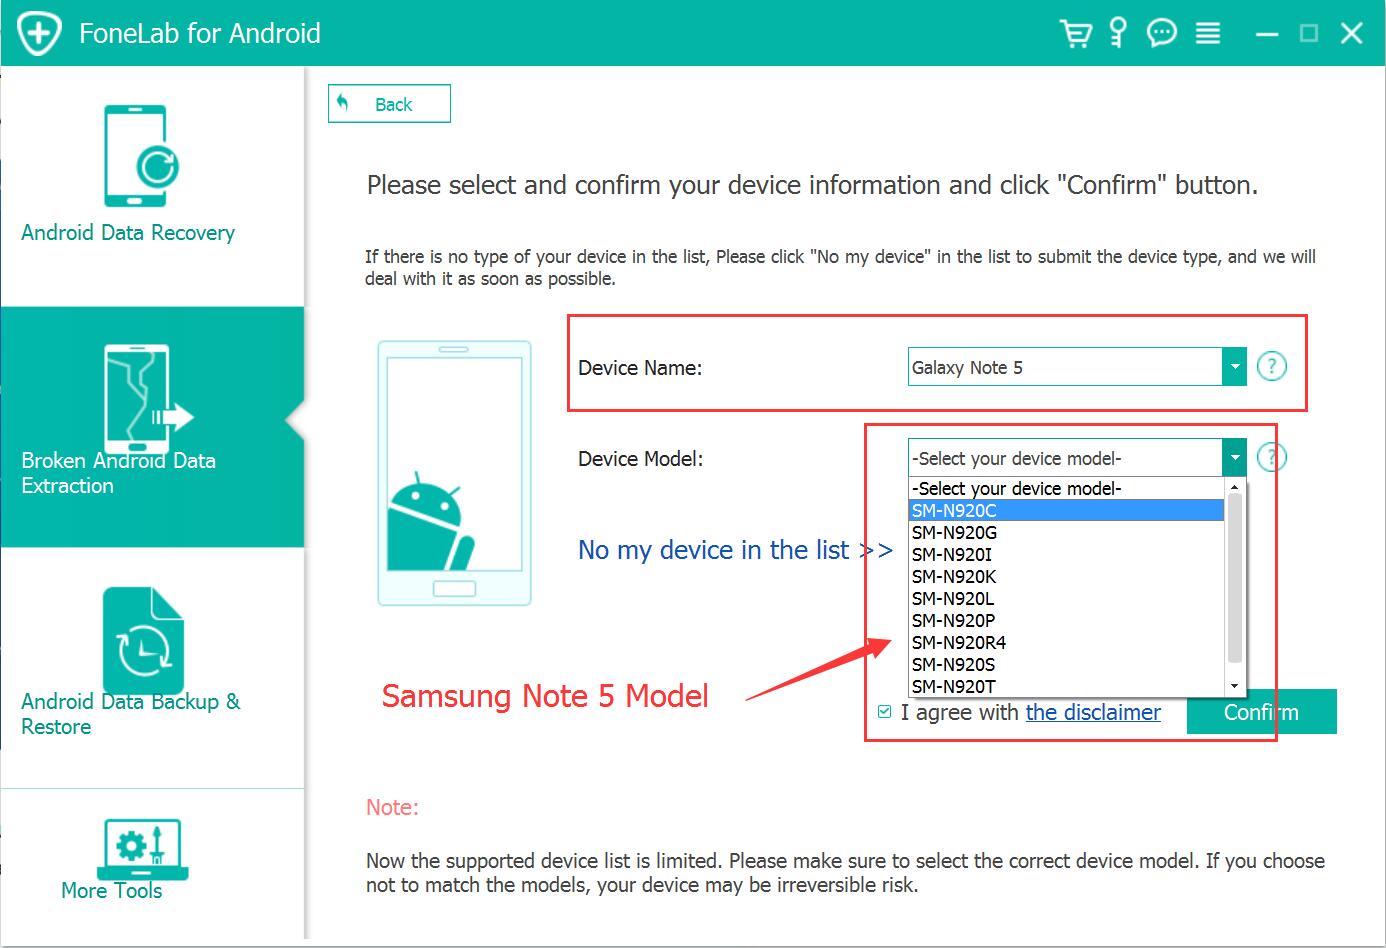
Step 2.Select the Models of Samsung
Make sure that you choose the correct information of your phone including the device name and device model. Then click “Confirm“.
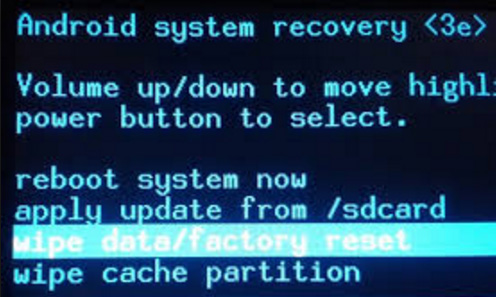
Step 3.Setting Samsung into Download Mode
Follow the guide to enter your broken Samsung to the Download mode: Power off the phone > Press the volume down + Home button + Power button > Press the volume up to enter download mode.
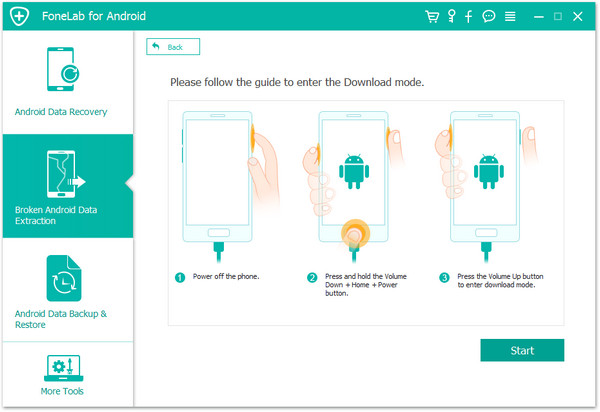
After that,your phone will enter “Download Mode” successfully.
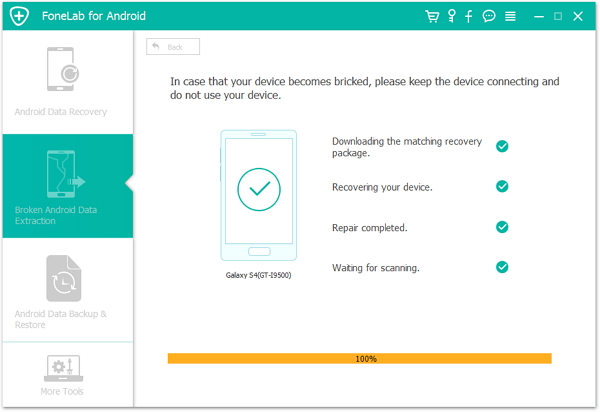
Step 4.Download the Recovery Package for Samsung
Now the Broken Android Data Recovery program will download the recovery package for your Samsung Galaxy Note 5.
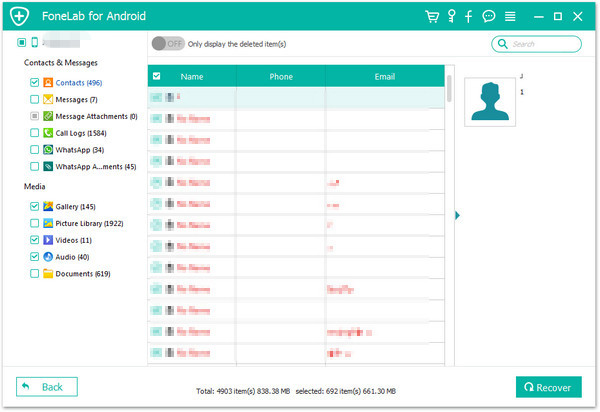
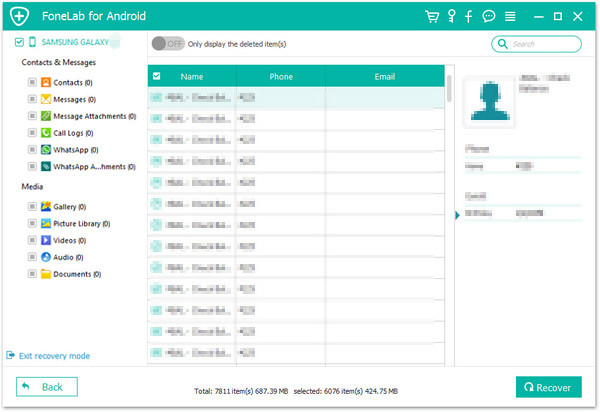
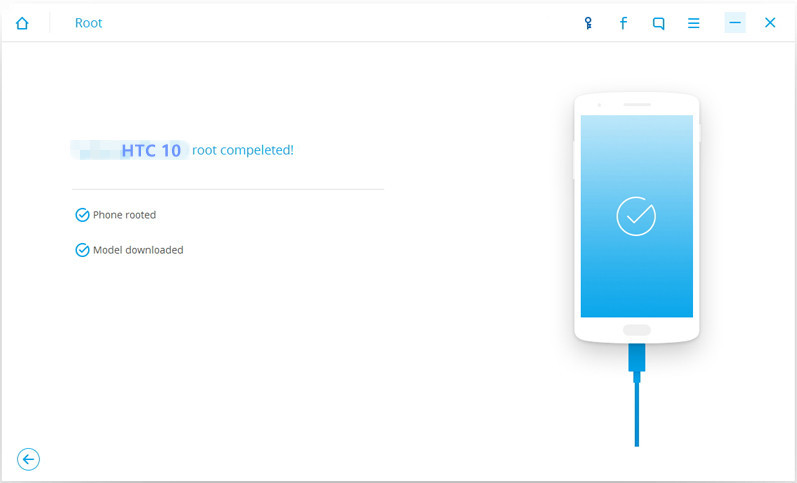
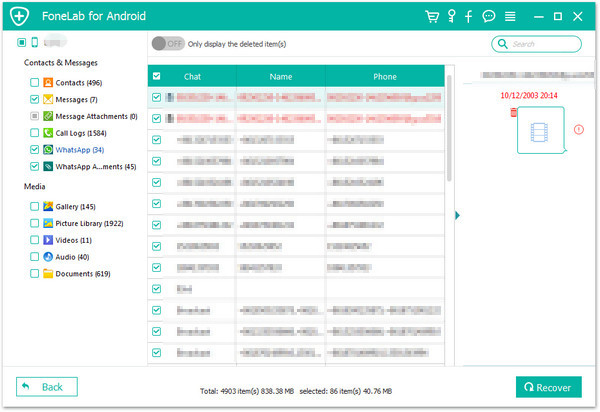
Step 5.Preview and Recover Text Messages from Samsung Galaxy Note 5
Now you should select the text messages to preview and recover the selected data from Samsung to your computer.
Related Article:
How to Recover Data from Broken Samsung Galaxy Note 5
How to Recover Contacts from Broken Samsung Galaxy Note 5
How to Recover Data from Broken Samsung Galaxy Note 5/4/3/2
How to Recover Photos from Broken Samsung Galaxy Note 5/4/3/2